# Item Master
# Create an item
From the top menu navigate to the Item Master screen
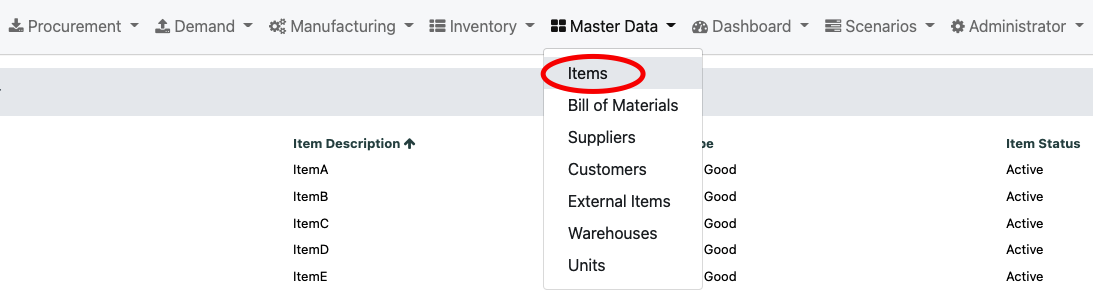
From the right hand side of the Navigation Bar select the "+" icon

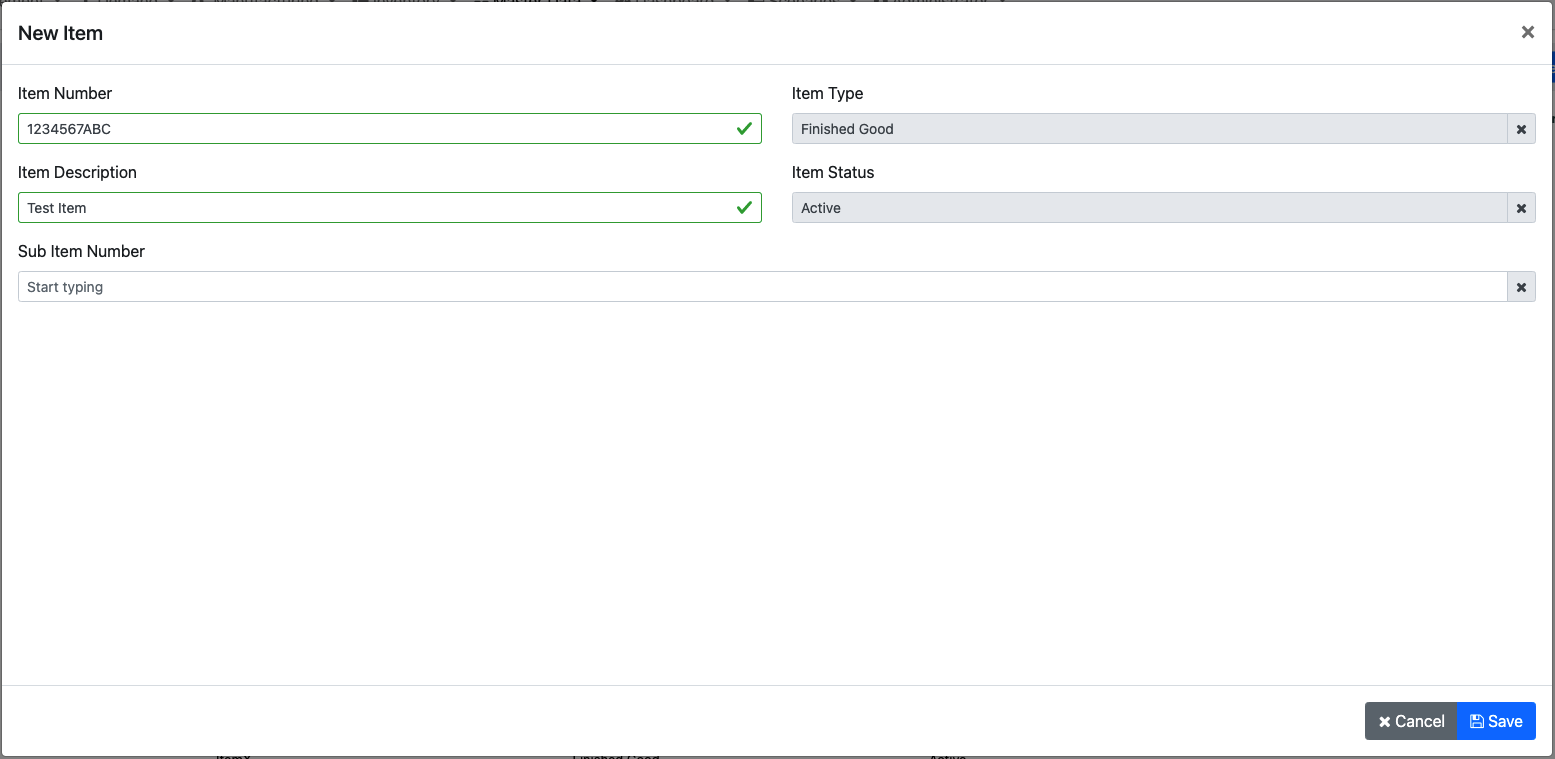
A pop-up will appear where you can enter the details of the New Item

Both Item Number and Item Description are required fields, you will need to populate them
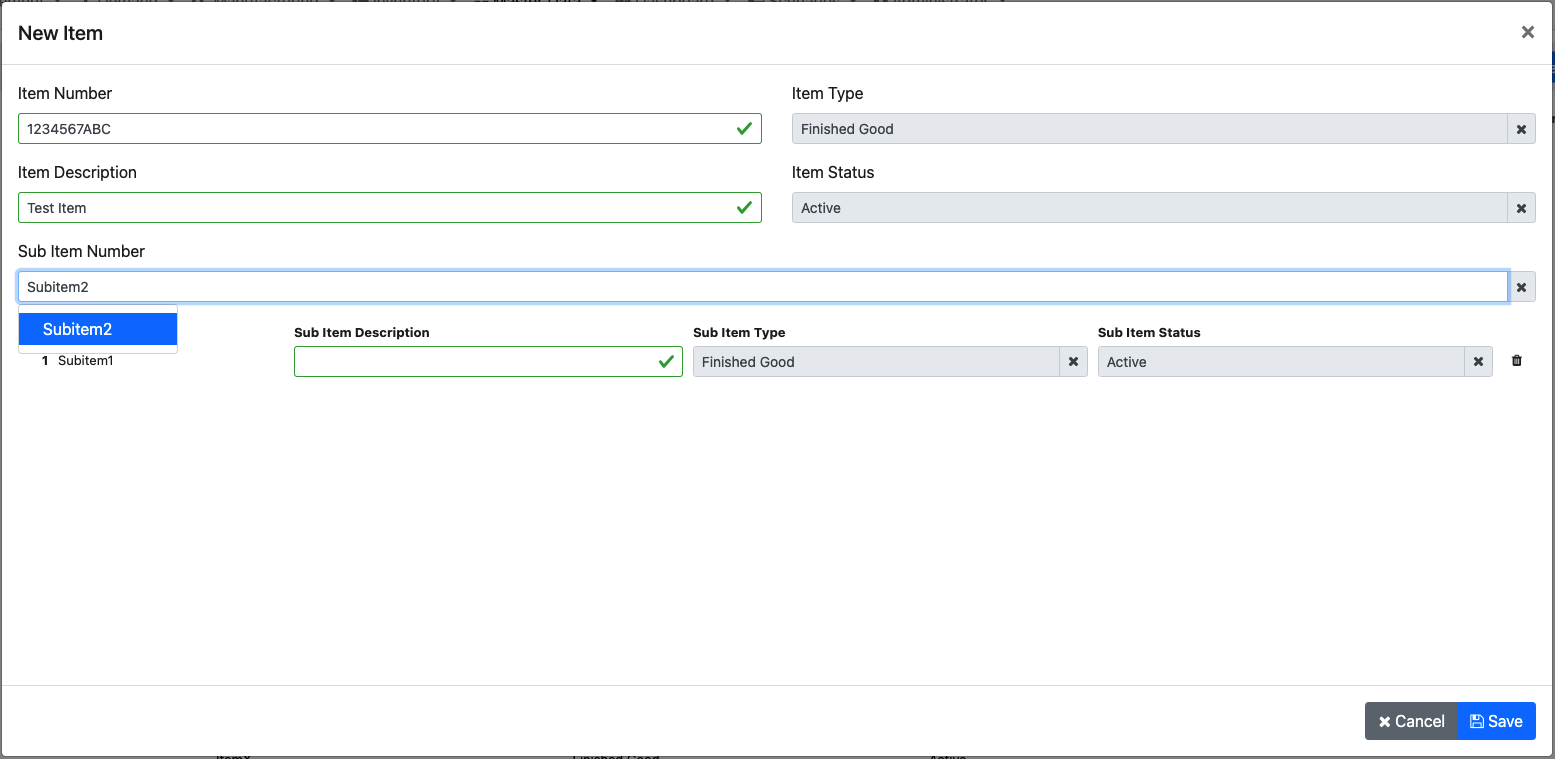
You can also add subitems for a particular item if need for grouping or other purposes. An item can exist without any subitems. WARNING a subitem CANNOT be converted to an item.

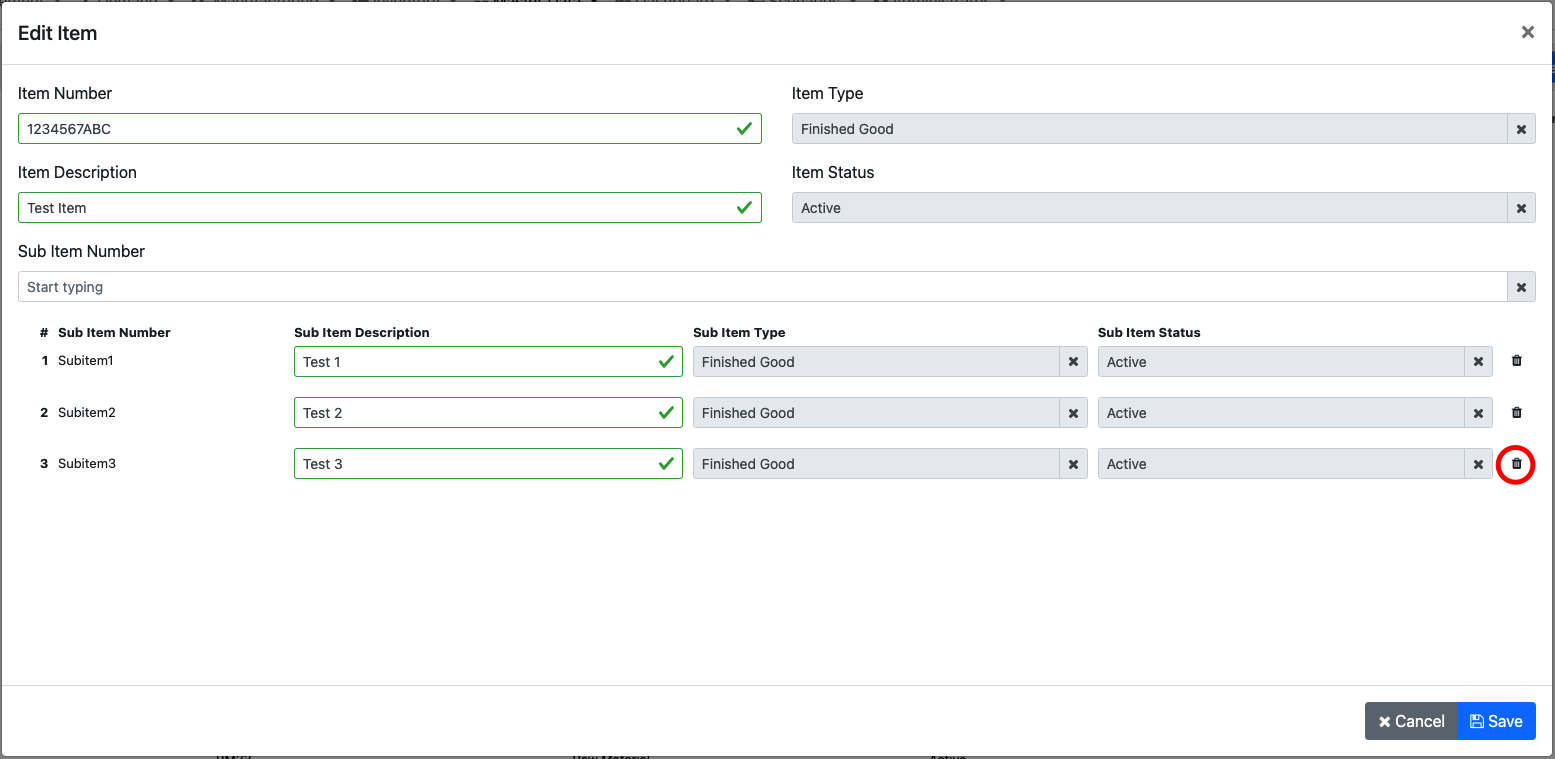
To delete a subitem from an item simply click on the trash can icon

A pop-up will appear for confirming the action

# Edit an item
From the top menu navigate to the Item Master screen
Hover over the item you want to edit and on the right hand side click on the edit icon

A pop-up will appear with the details of that item, all the fields can be updated

To delete a subitem simply click on the trash can icon next to it, the subitem can only be deleted if it's not used in the system
A pop-up will appear for confirming the action
If you want to add a new subitem start typing its number in the autocomplete box

Once you hit enter or select the new subitem it will appear in the list

# Change an item type
From the top menu navigate to the Item Master screen
Hover over the item you want to edit and on the right hand side click on the edit icon
A pop-up will appear with the details of that item, all the fields can be updated
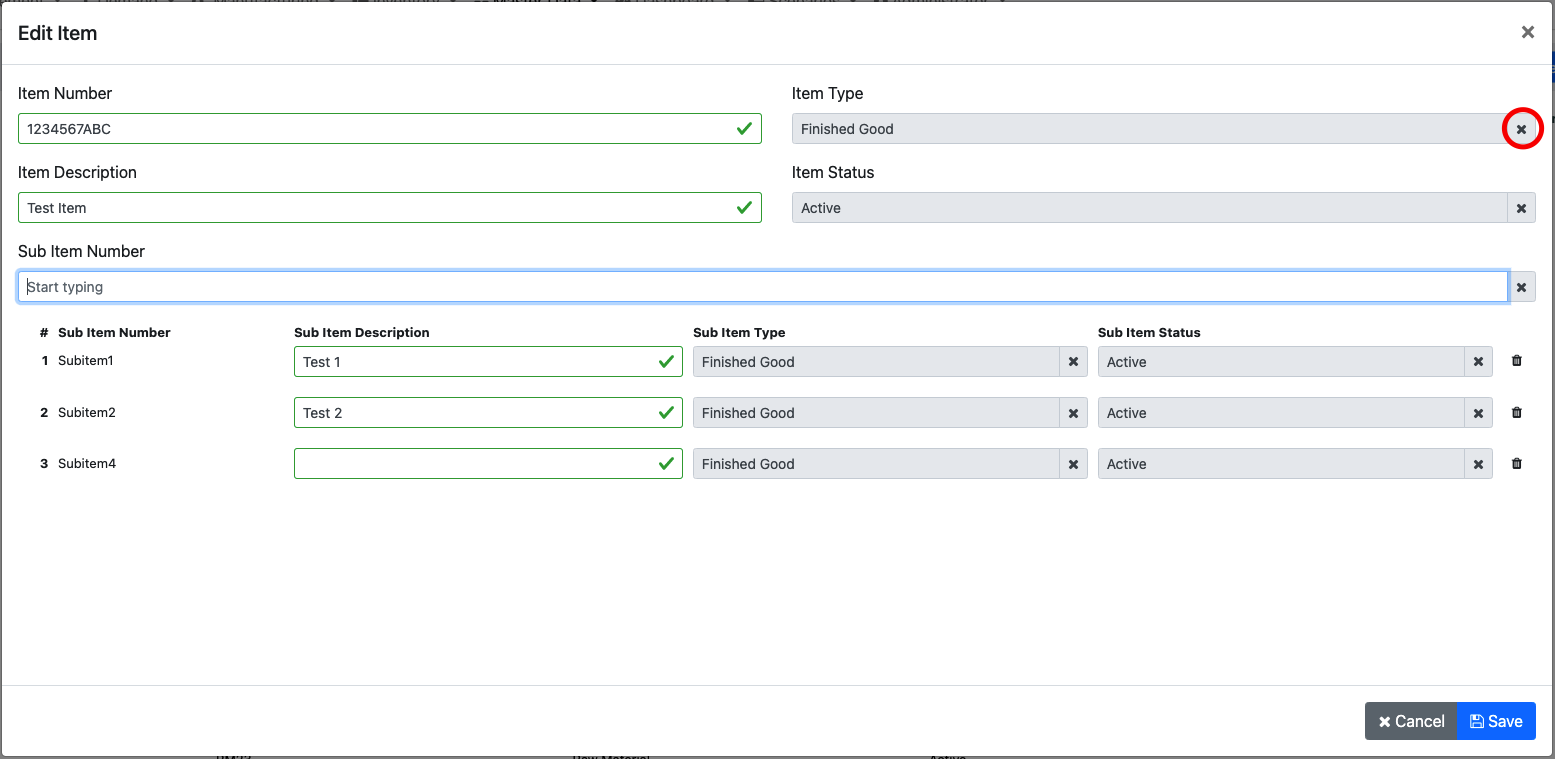
To change the item type simply remove the current item type by clicking on the "x" button
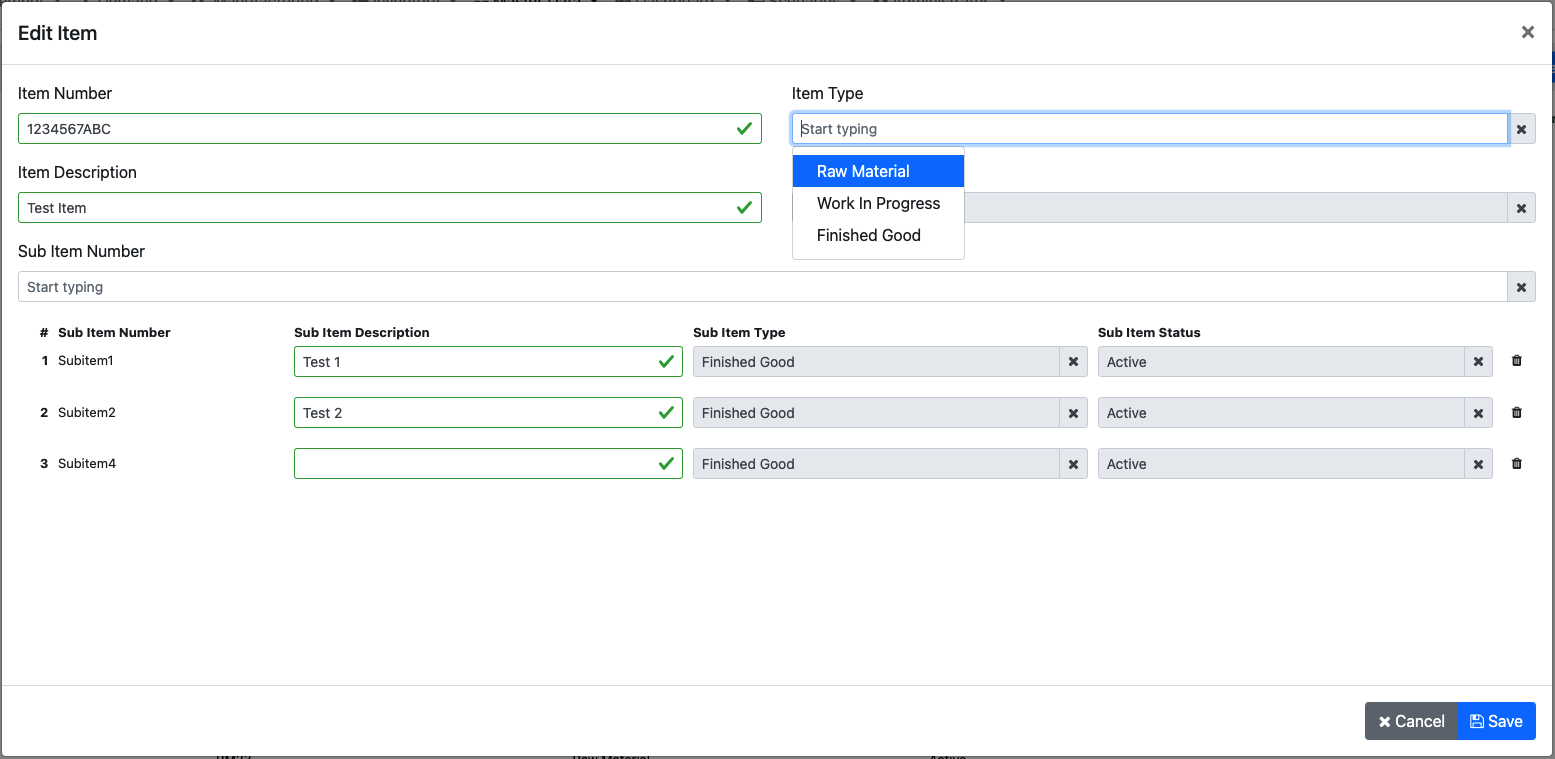
The start typing or select the new item type from the list

# Change an item status
From the top menu navigate to the Item Master screen
Hover over the item you want to edit and on the right hand side click on the edit icon
A pop-up will appear with the details of that item, all the fields can be updated
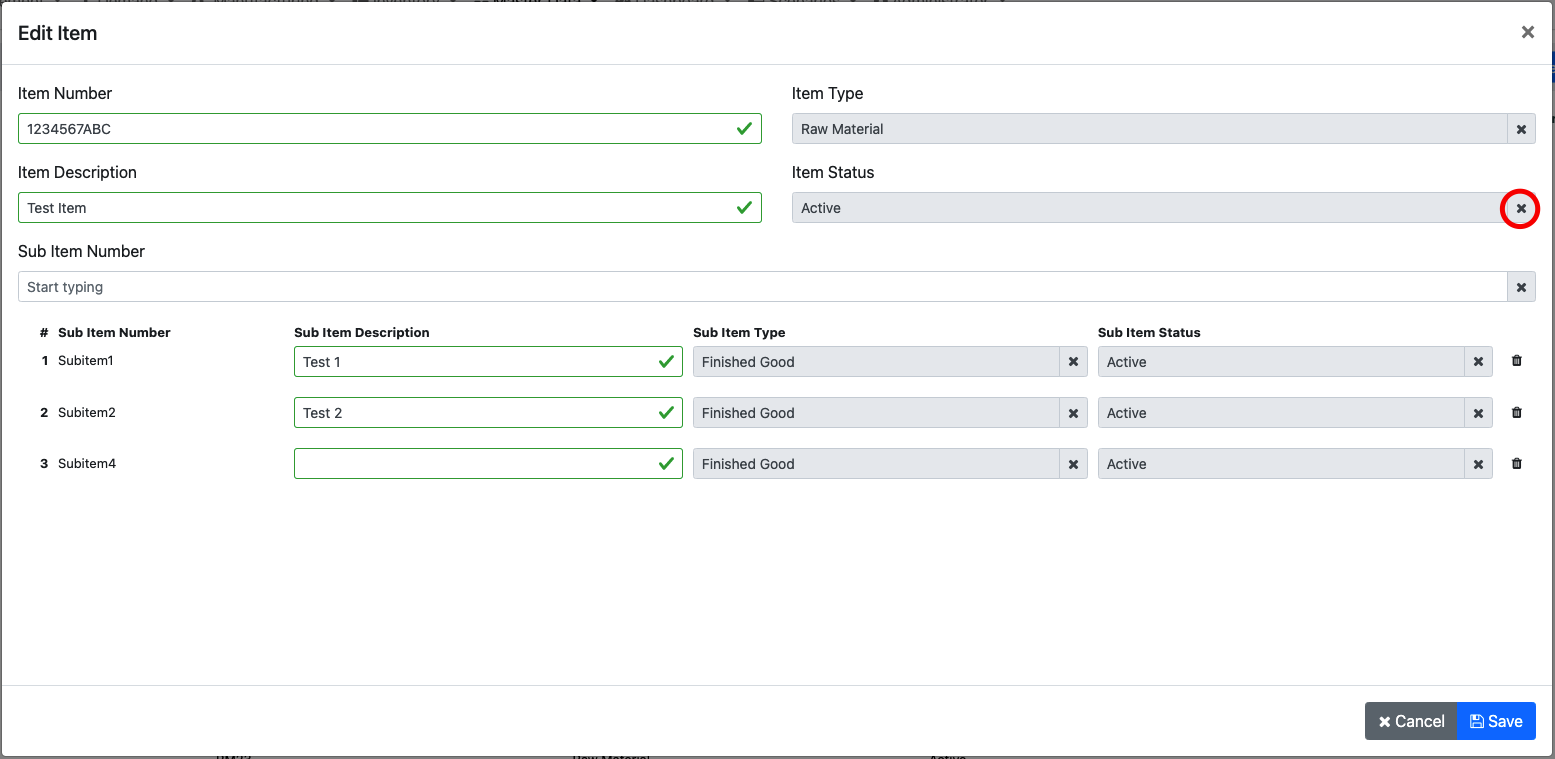
To change the item type simply remove the current item status by clicking on the "x" button
The start typing or select the new item type from the list
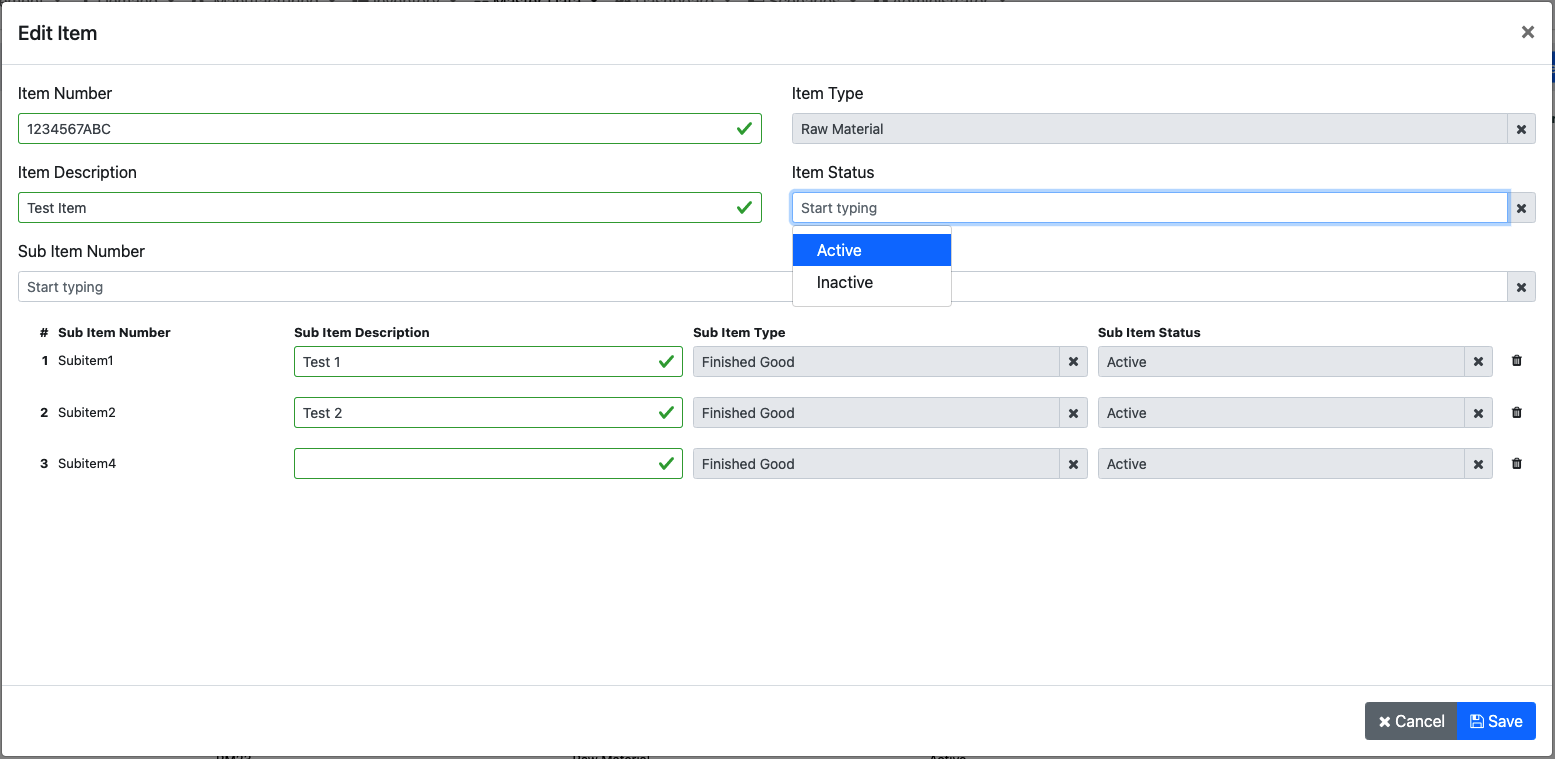
Select the new status from the autocomplete box

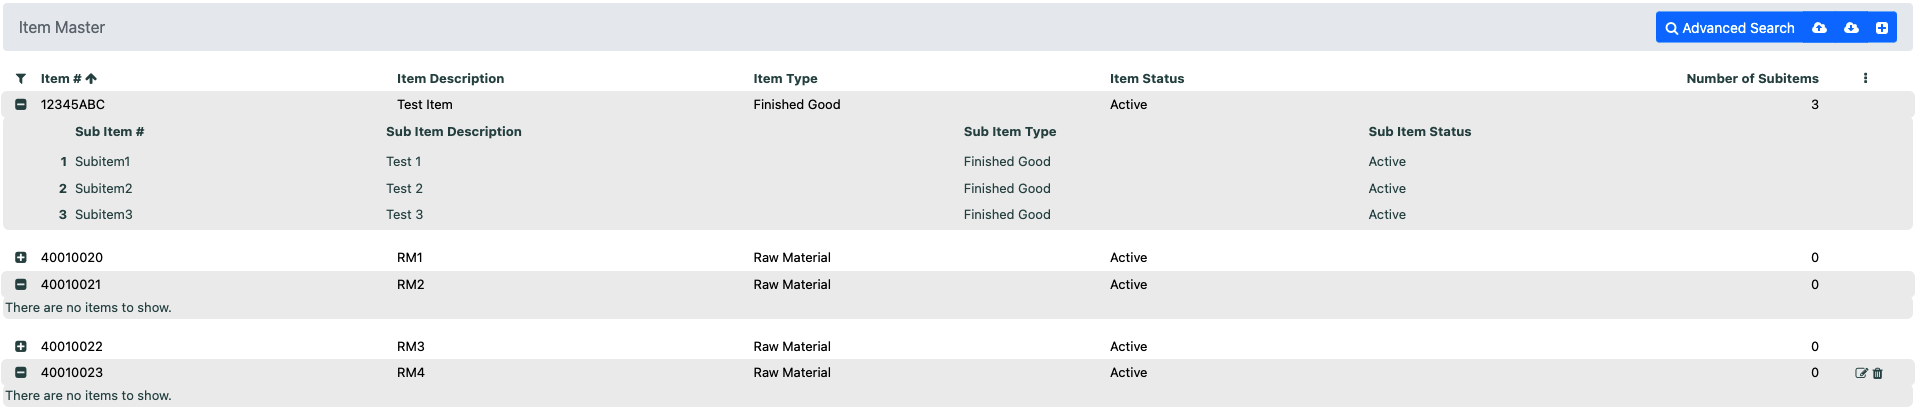
# View subitems of an item
From the top menu navigate to the Item Master screen
Select the item you want to see and click on the "+" icon

The screen will expand and you can see the details of one or multiple items at the same time
# Delete an item
From the top menu navigate to the Purchase Order Screen
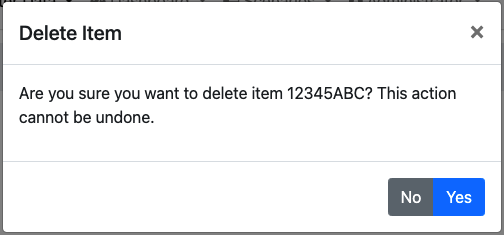
Hover over an item you want to delete and click on the trash can icon. WARNING only items that are not used in the system can be deleted.

A confirmation pop-up will appear to confirm the deletion of the item
# Bulk upload data
Bulk data can be uploaded by using our templates, for more details on how to do this please consult our Uploading section
# Advanced actions
For customizing column names, order of the columns, creating and saving a view, exporting to Excel and other advanced features see our Advanced menu section