# Forecast Orders
# Create a Forecast Order
From the top menu navigate to the Forecast Order Screen

From the right hand side of the Navigation Bar select the "+" icon

A pop-up will appear where you can enter the details of the New Forecast Order
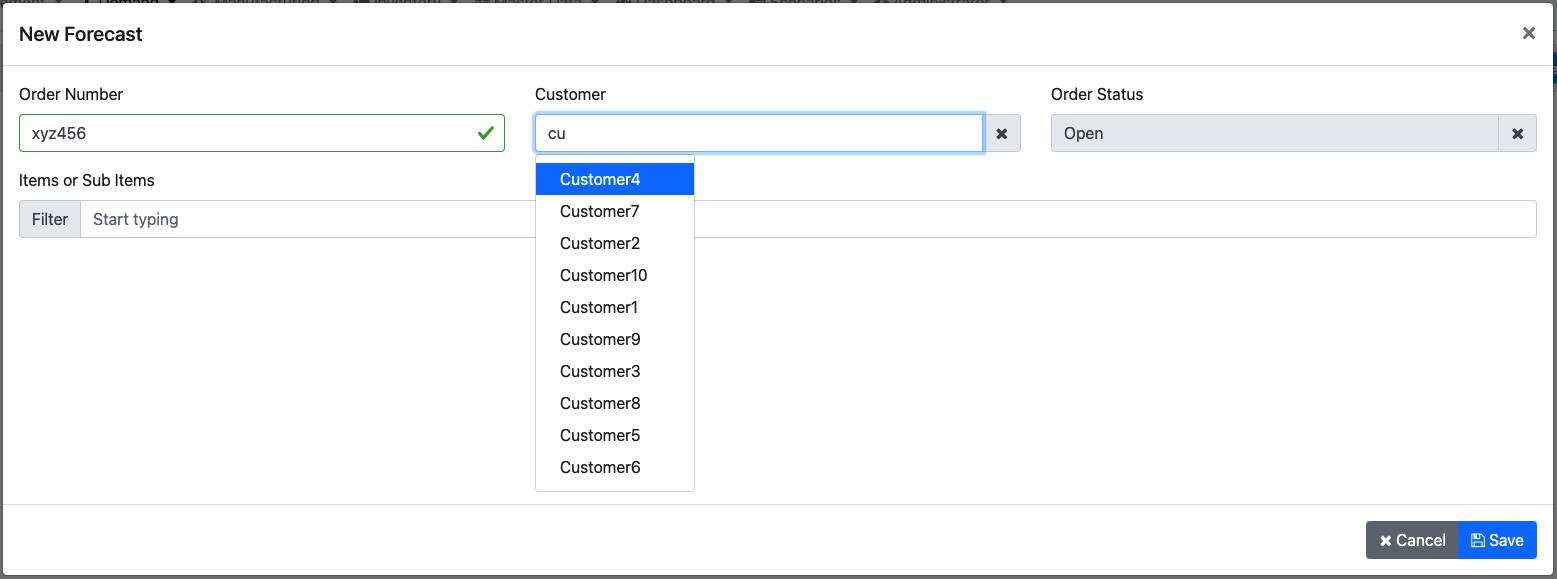
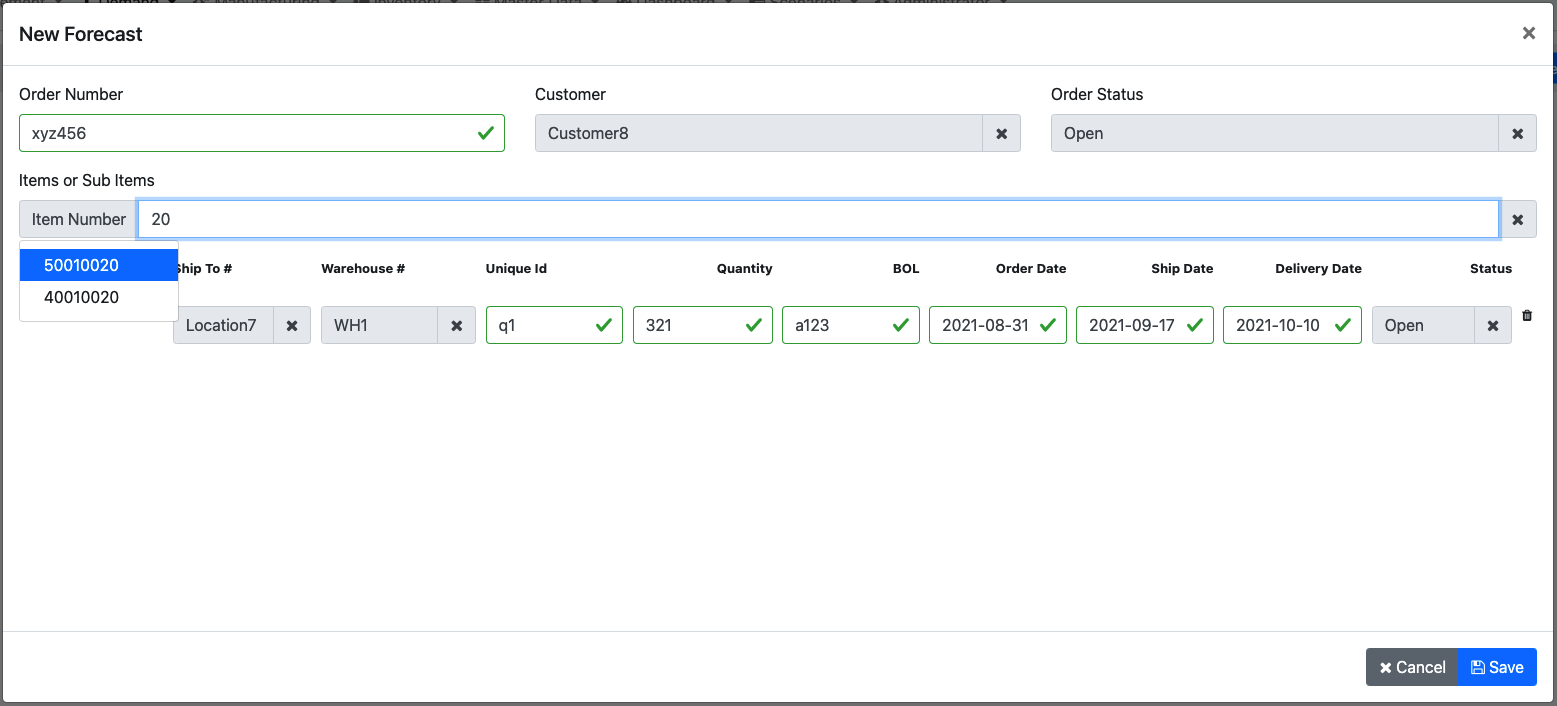
To add items or sub items to the forecast order from the Items or Sub Items menu select what you want to add
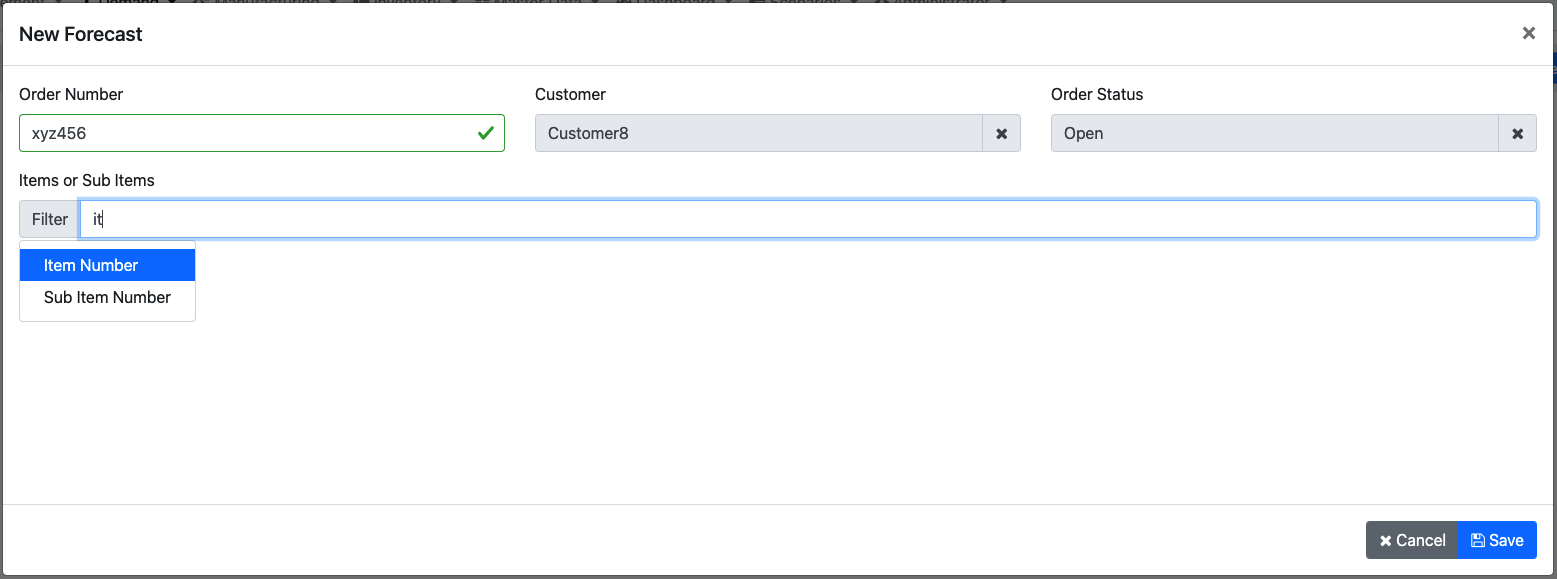
Start typing the item number or sub item number, the autocomplete will allow you to select which item/sub item you want to add
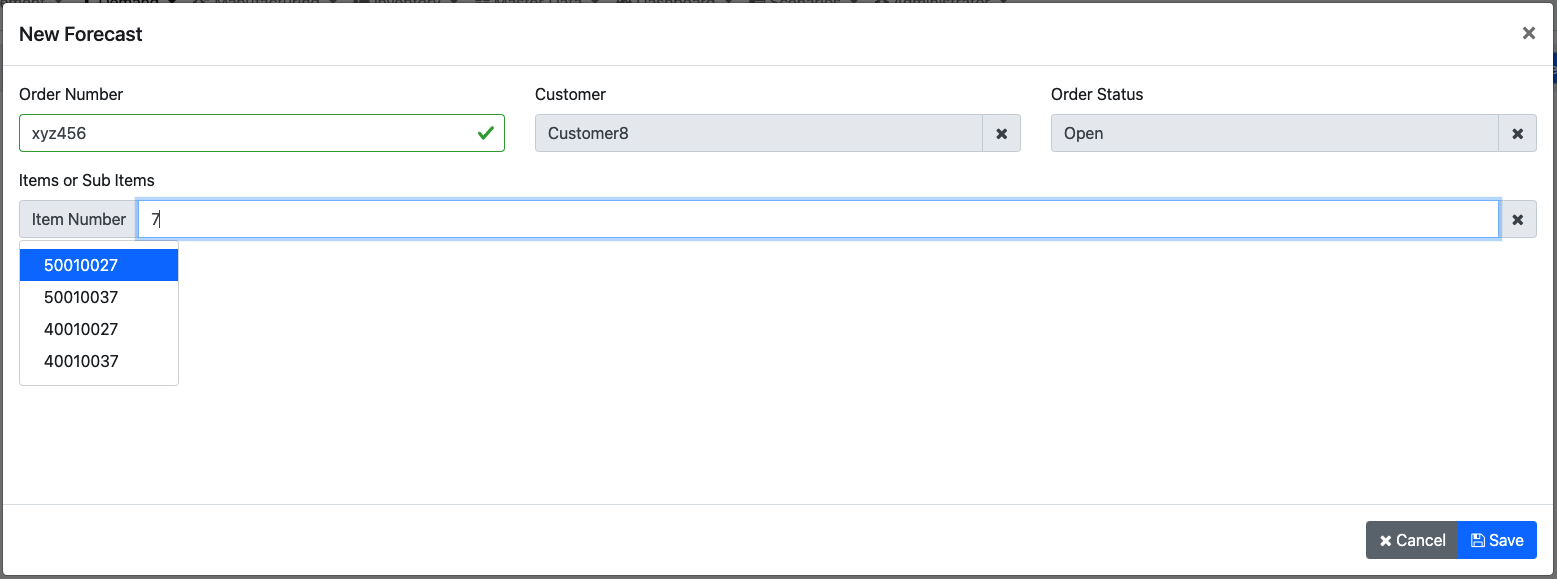
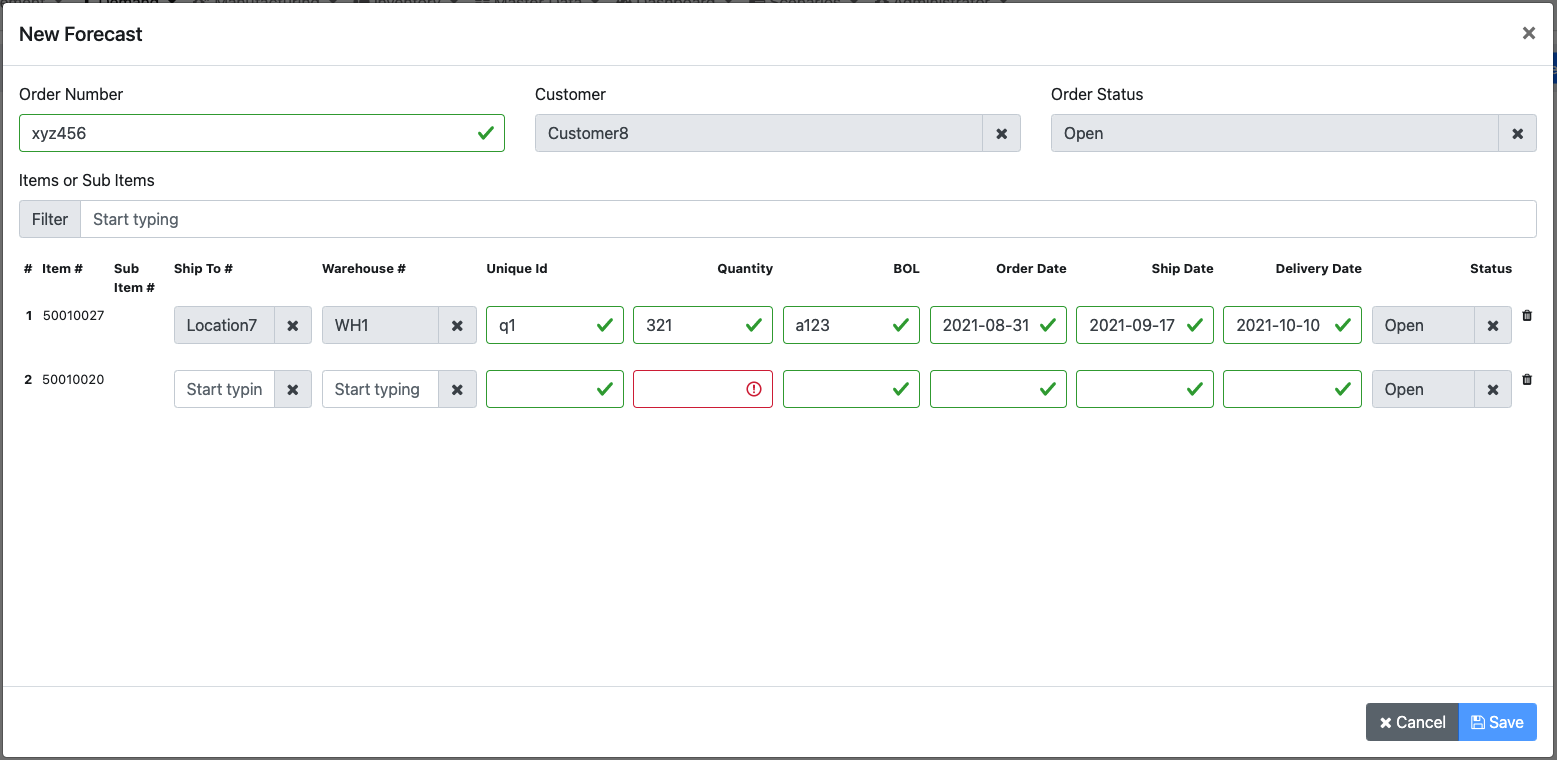
Once an item is selected a new row will appear and you can add the details for that particular item
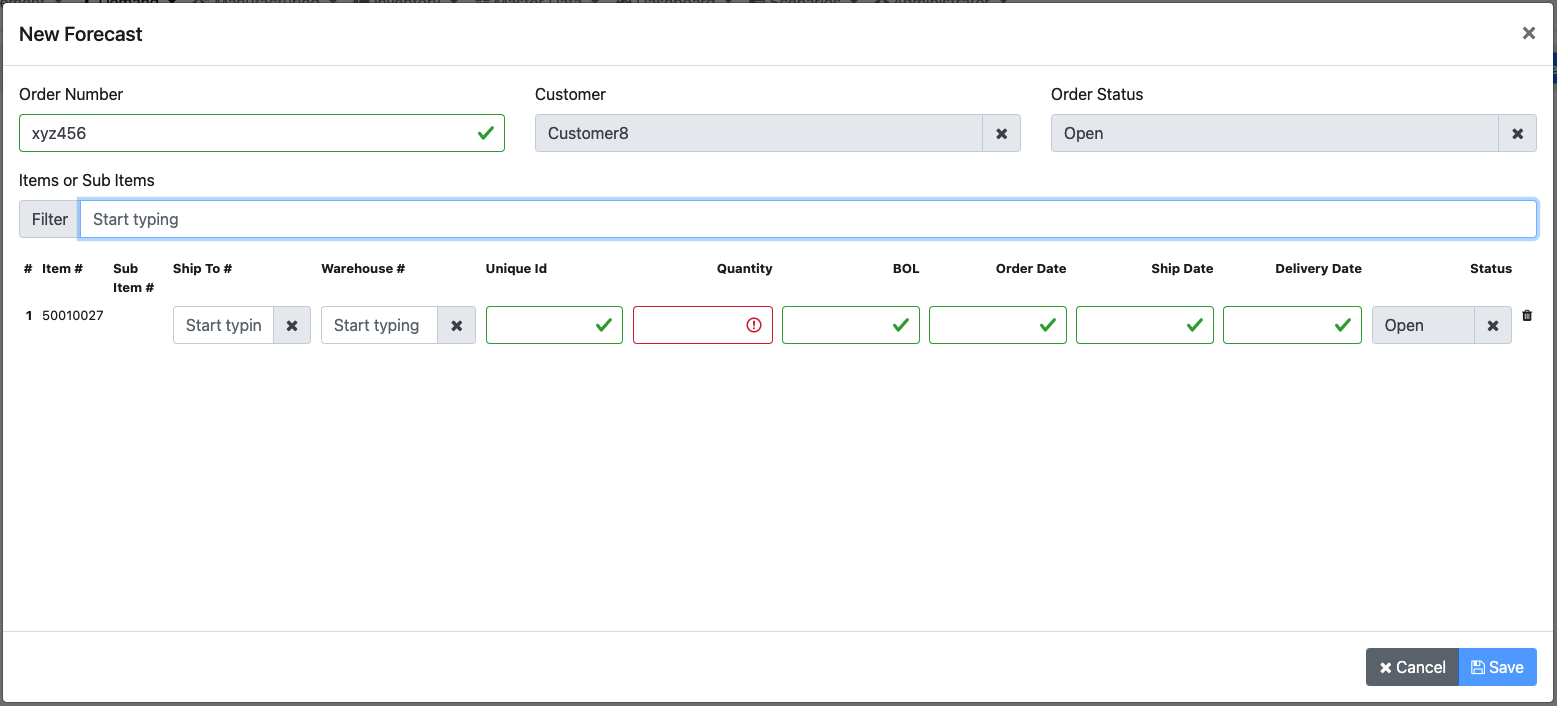
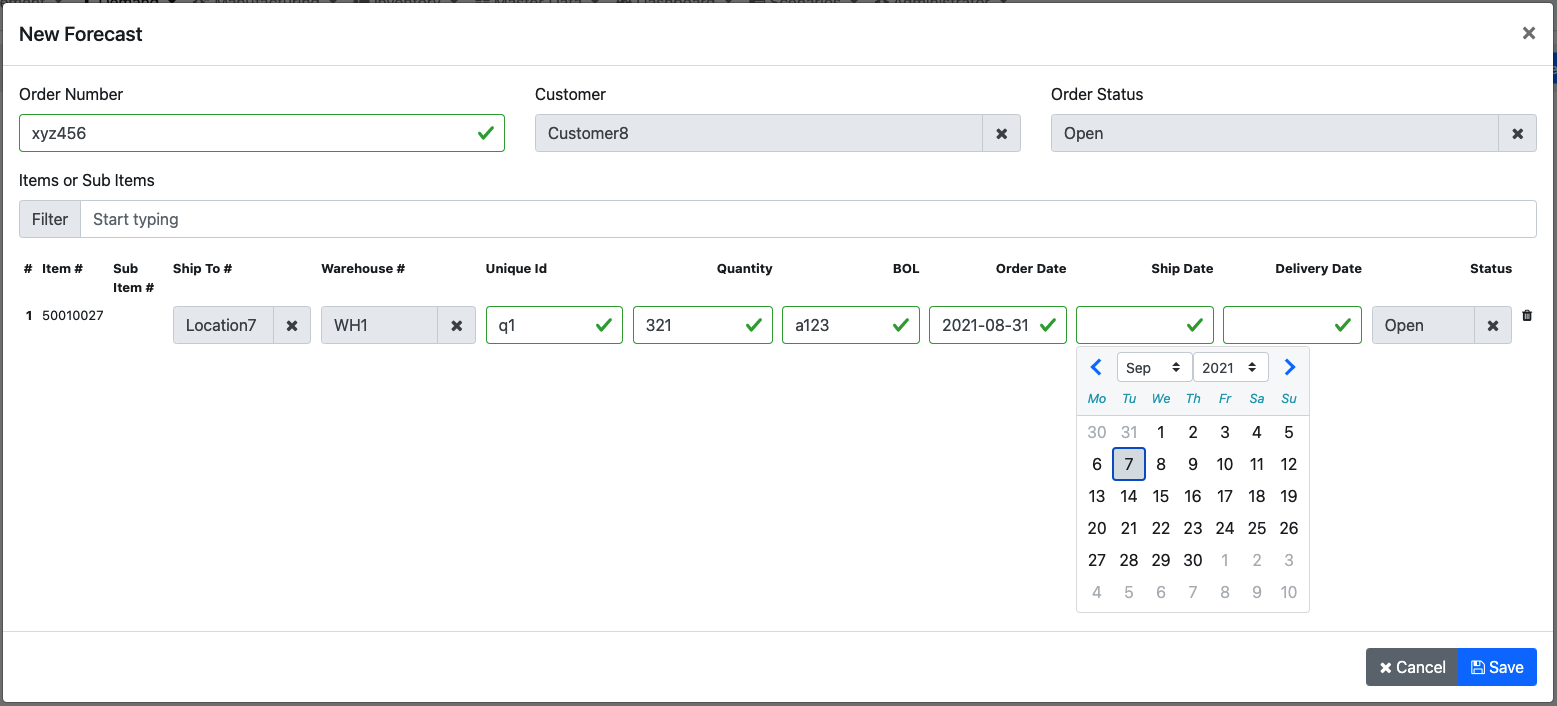
You can repeat the same process to add multiple items to the same forecast order
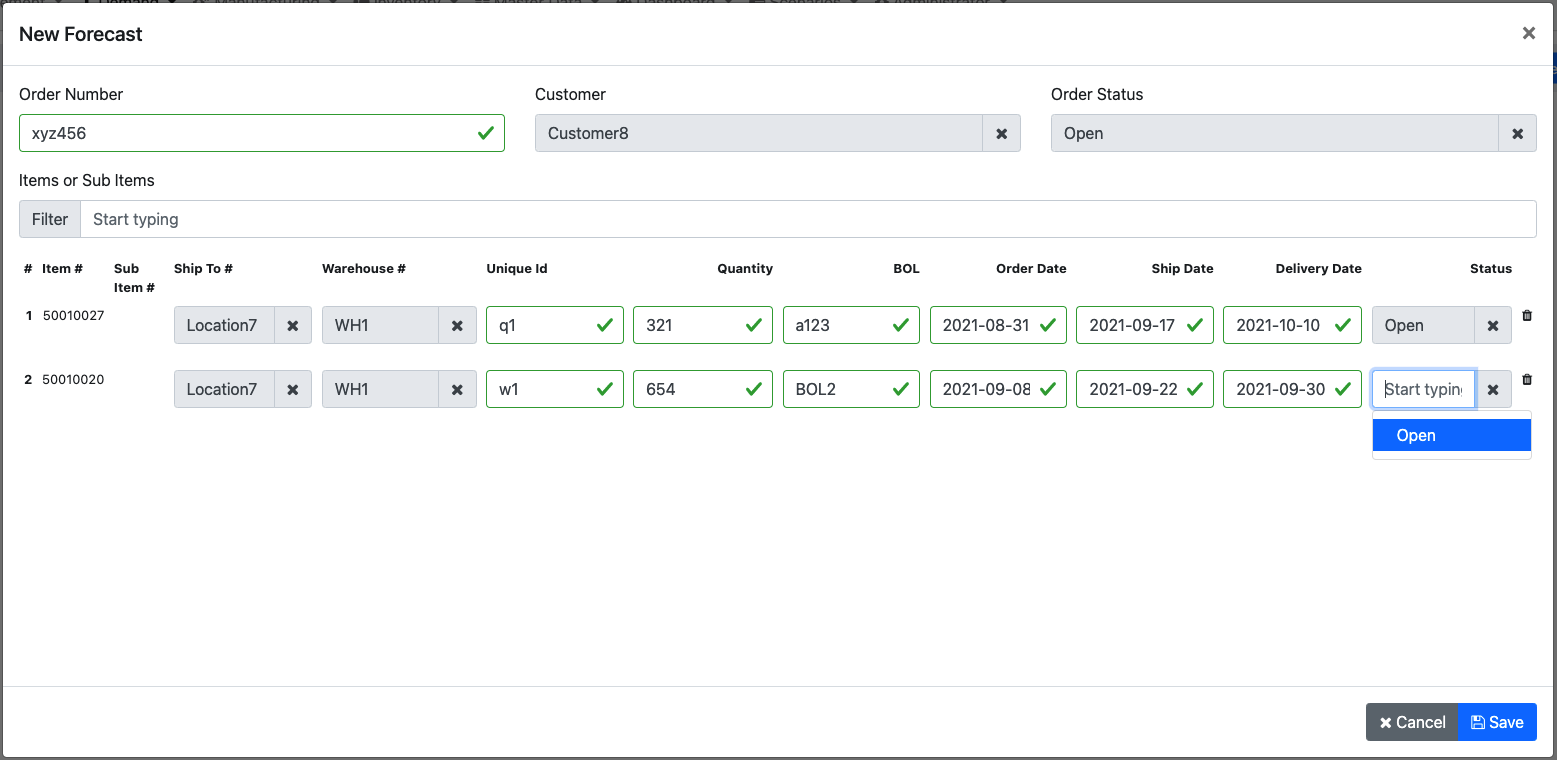
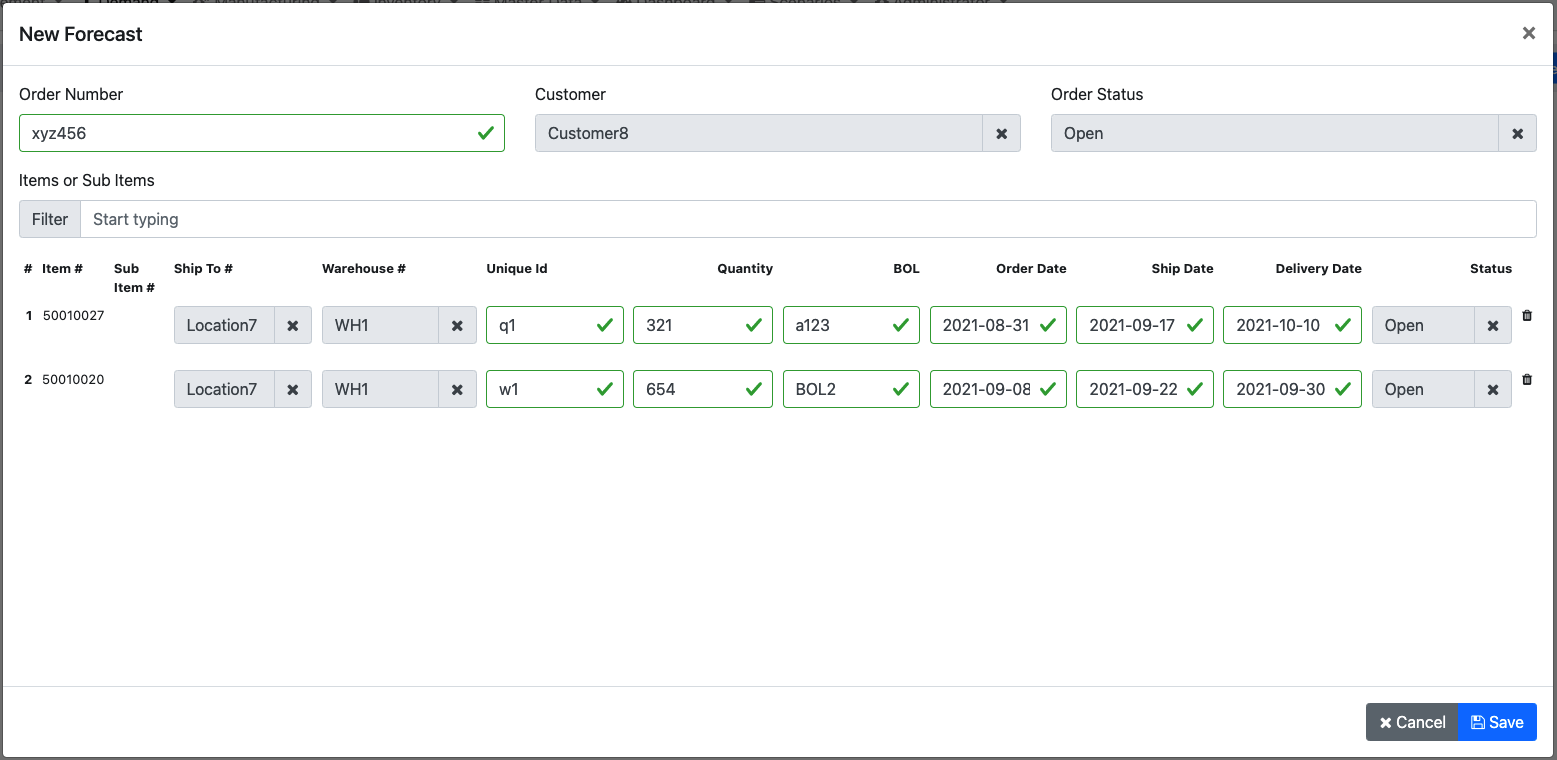
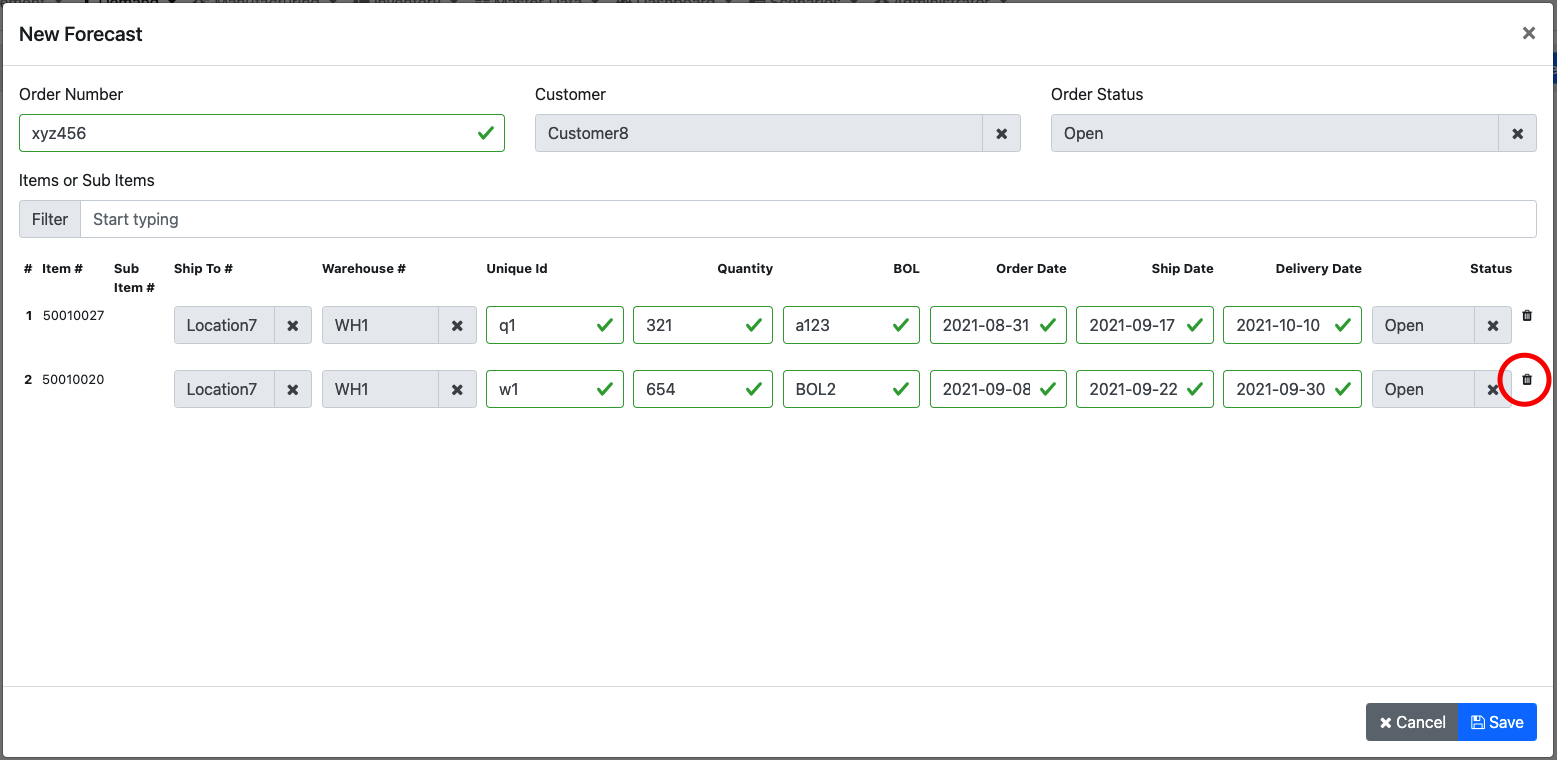
To delete an item from the forecast order simply click on the trash can icon
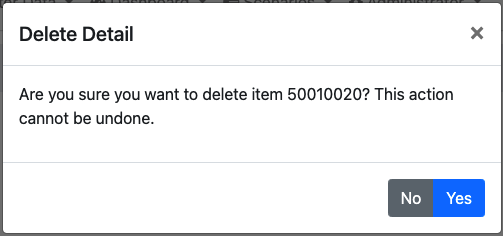
A pop-up will appear for confirming the action
# Edit a Forecast Order
From the top menu navigate to the Forecast Order Screen

Hover over the forecast order you want to edit and on the right hand side click on the edit icon

A pop-up will appear with the details of that forecast order
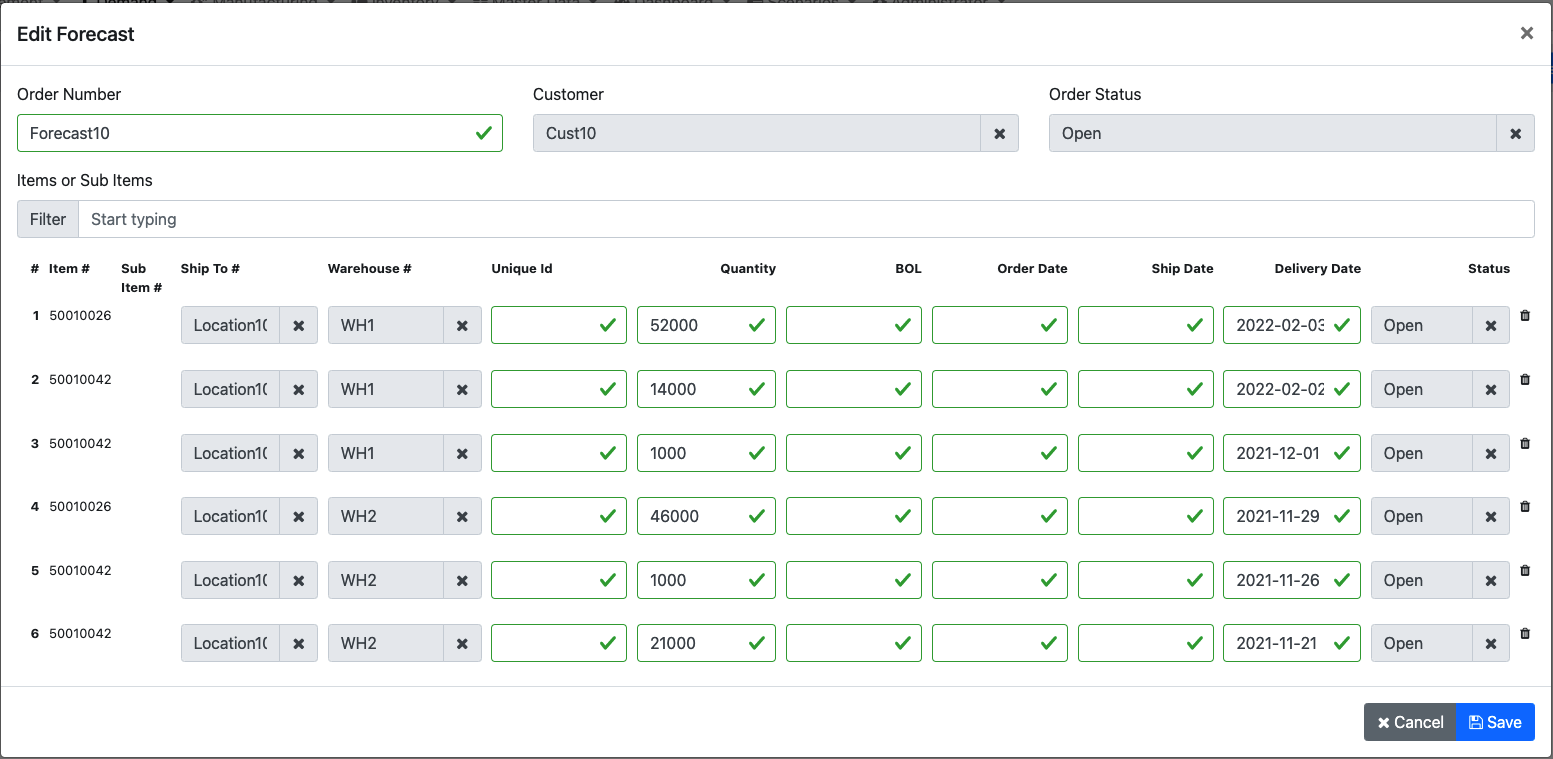
From this pop-up you can edit all the fields in the items section as well as the status of the order
If you want to add items or sub items to this forecast order, in the Items or Sub Items section start typing the type you want to add, then type or select an item/sub item from the list
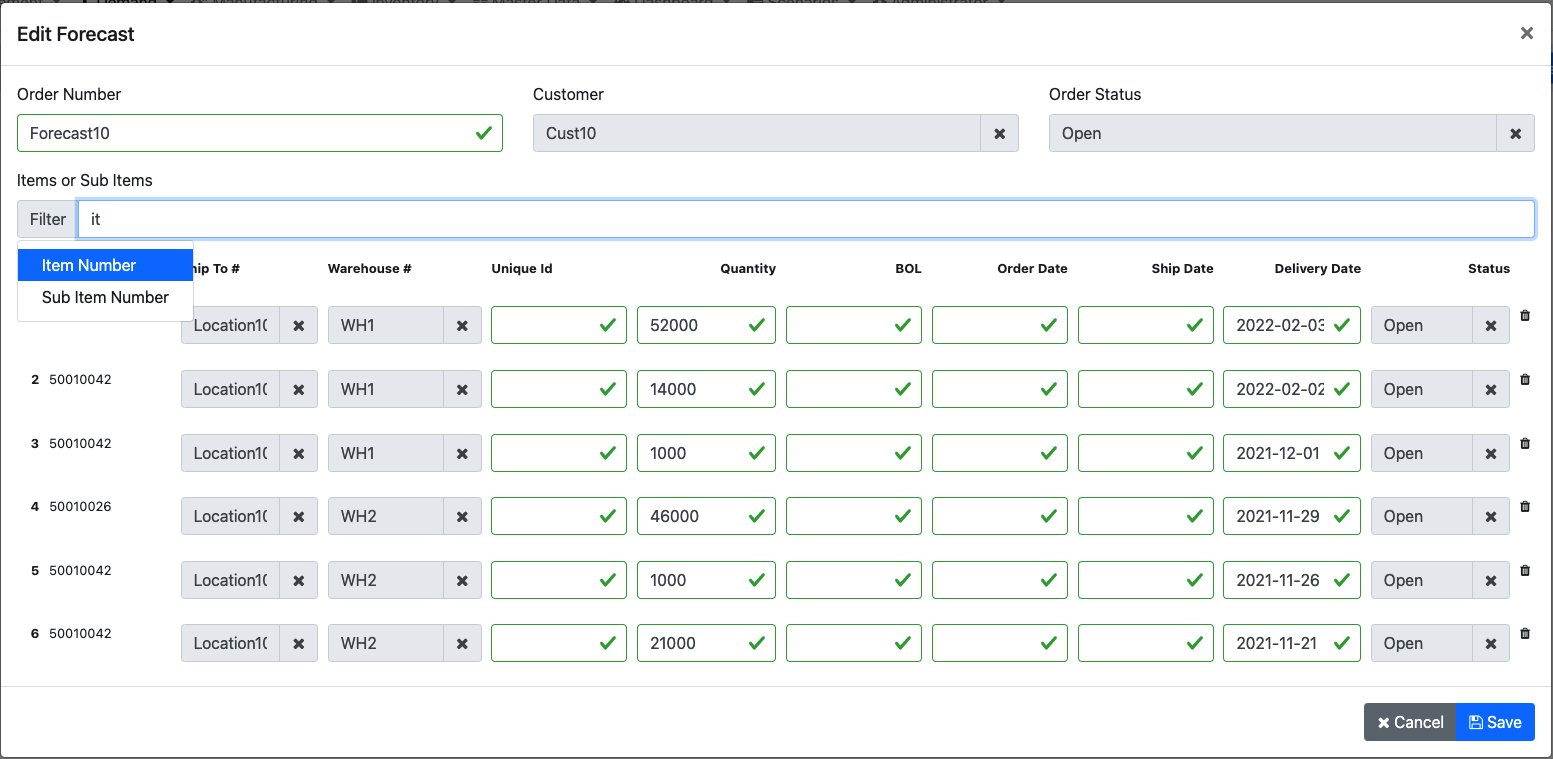
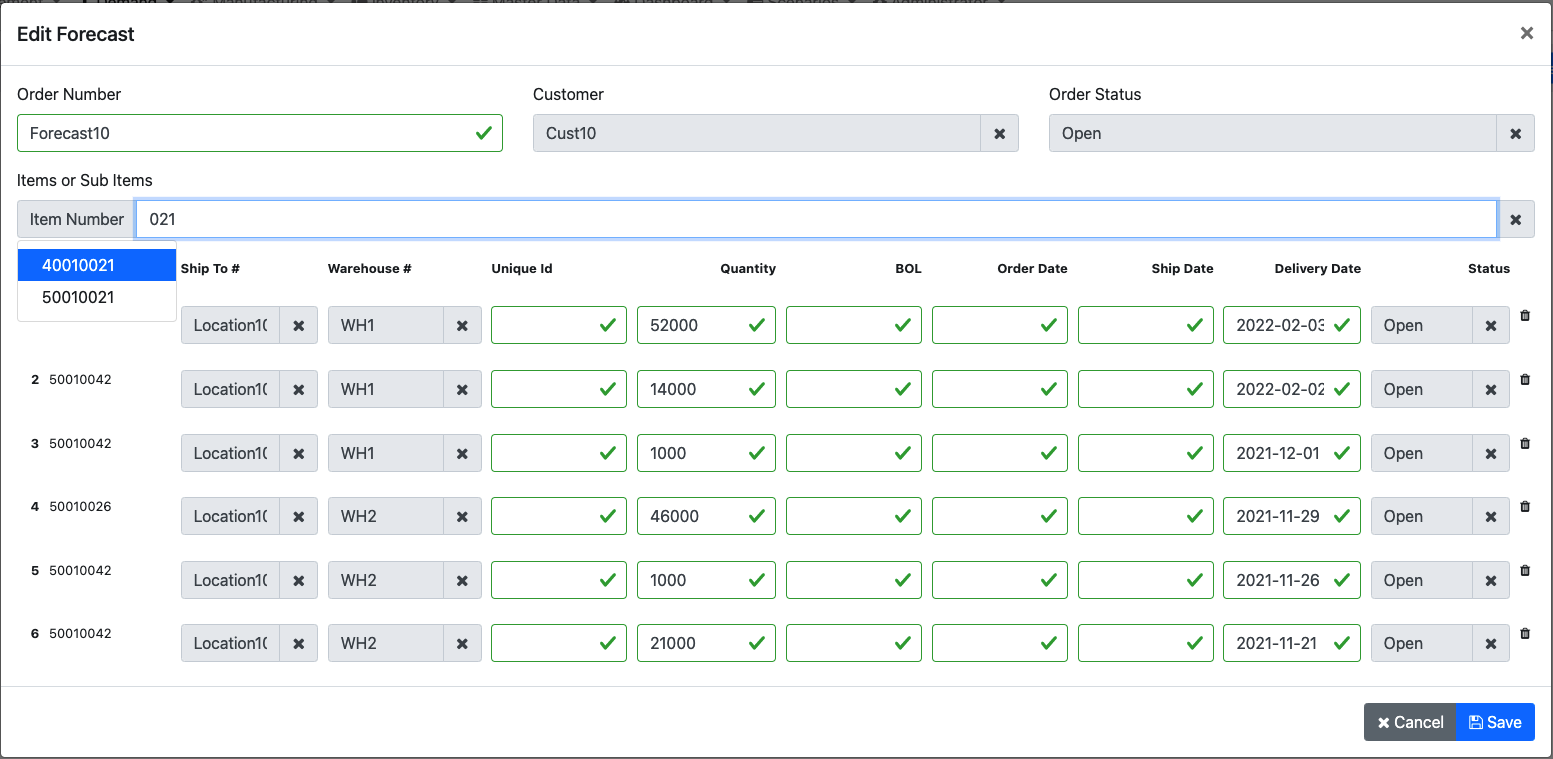
Once the item is added to the forecast order you can edit its details
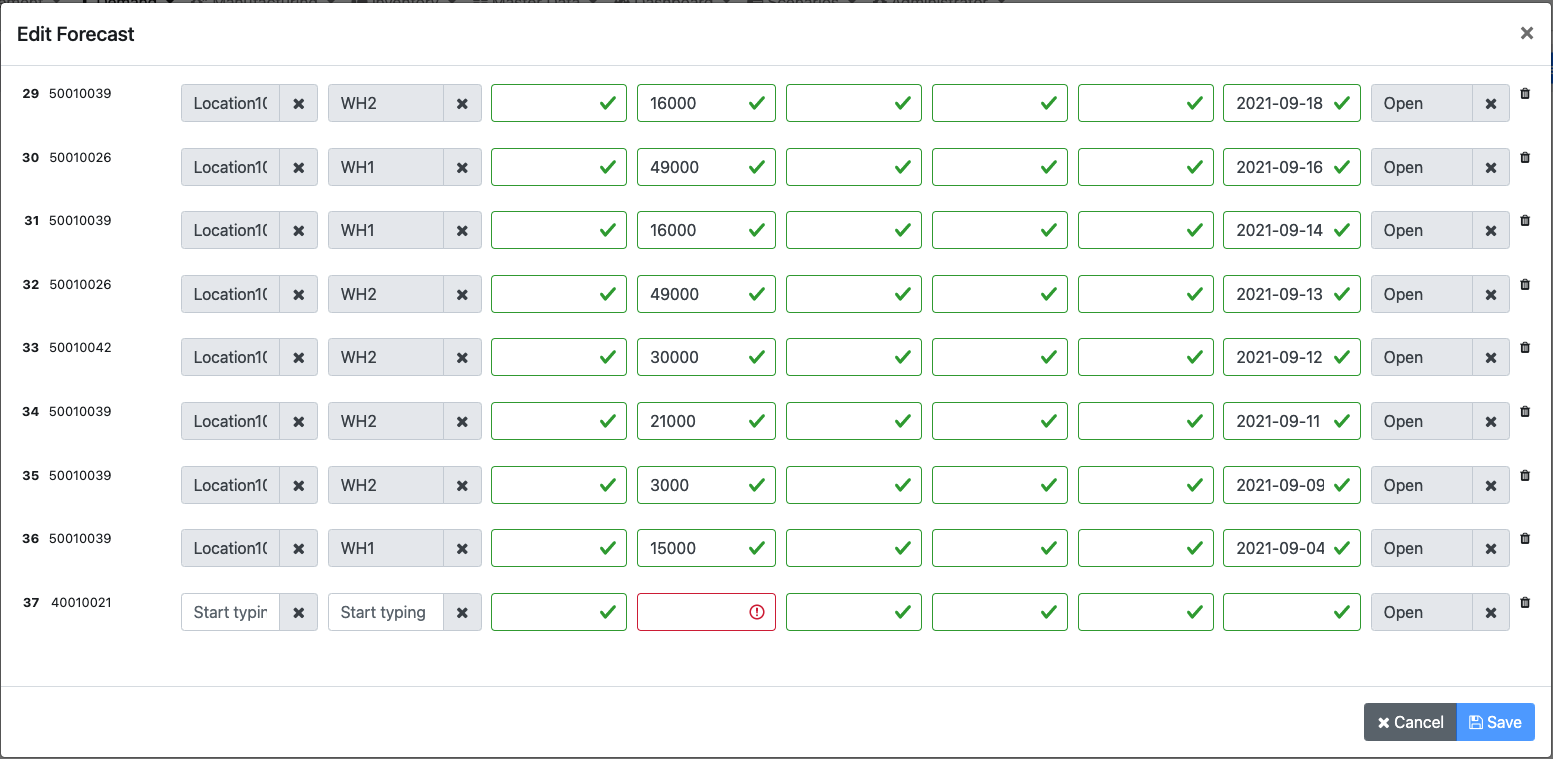
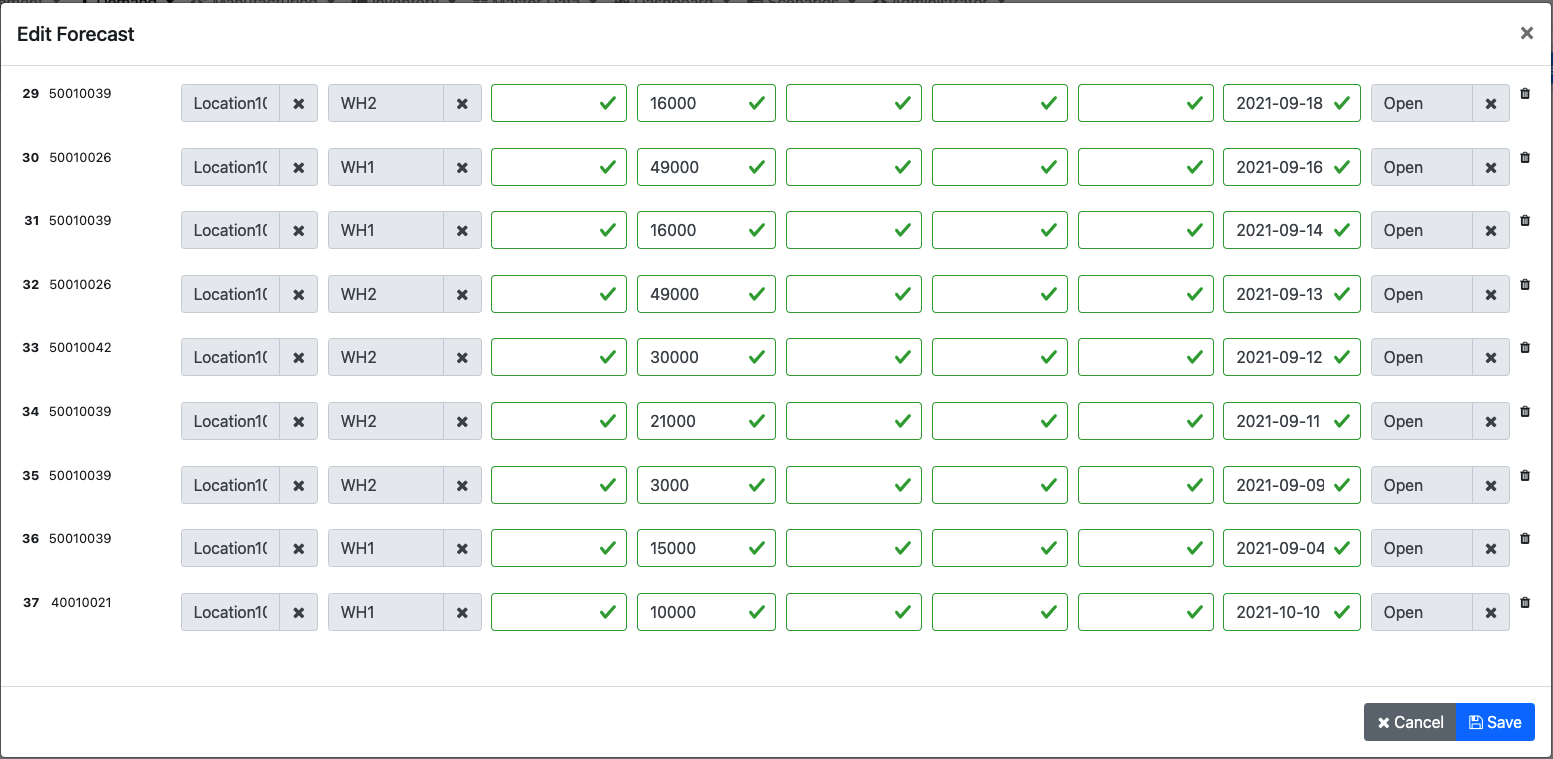
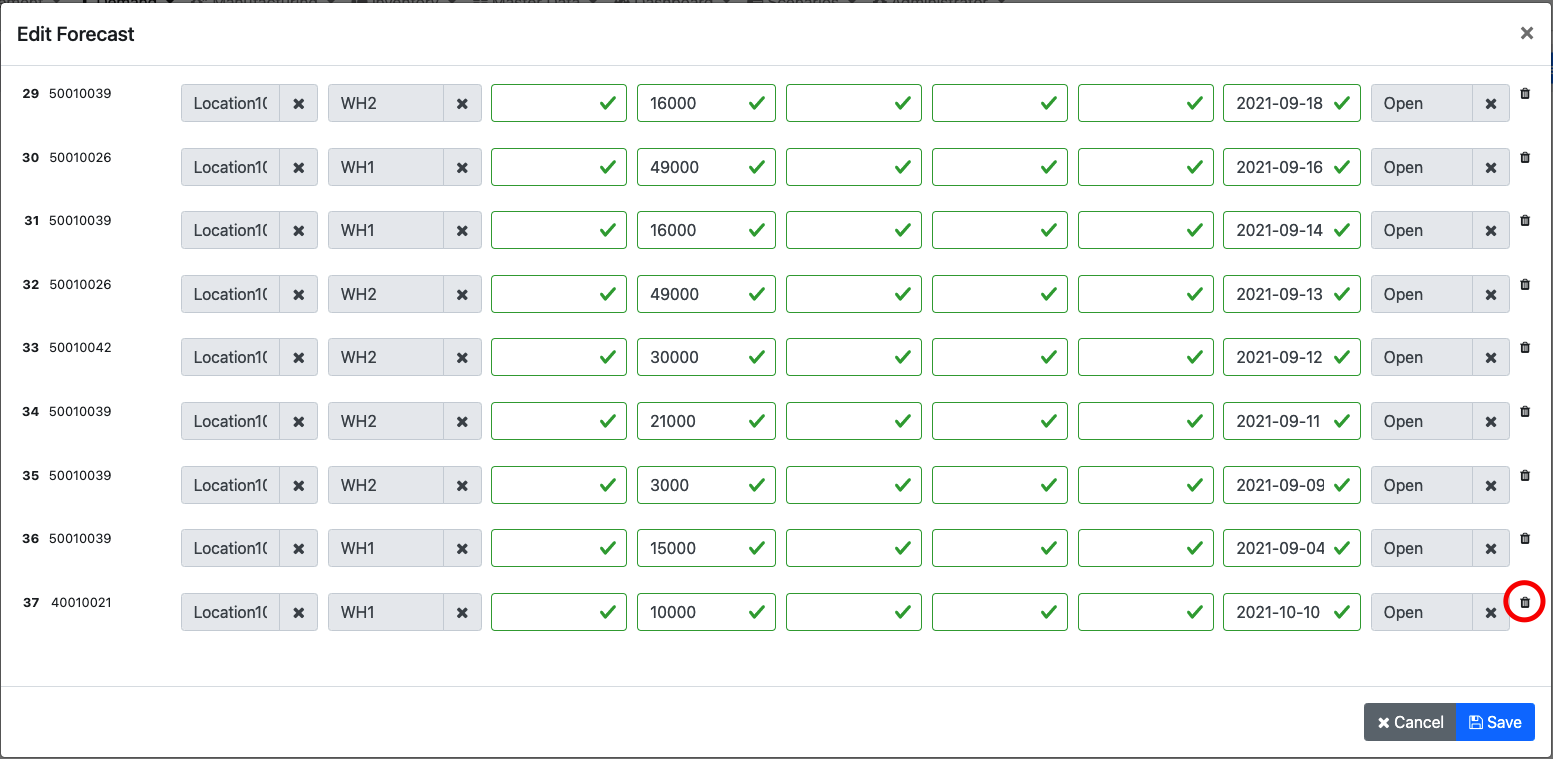
If you want to delete an item from that forecast order simply click on the trash can icon
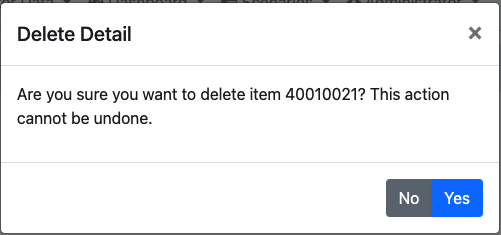
A pop-up will appear for confirmation
# Change status of a forecast order
From the top menu navigate to the Forecast Order Screen

Hover over the forecast order you want to edit and on the right hand side click on the edit icon

A pop-up will appear with the details of that forecast order

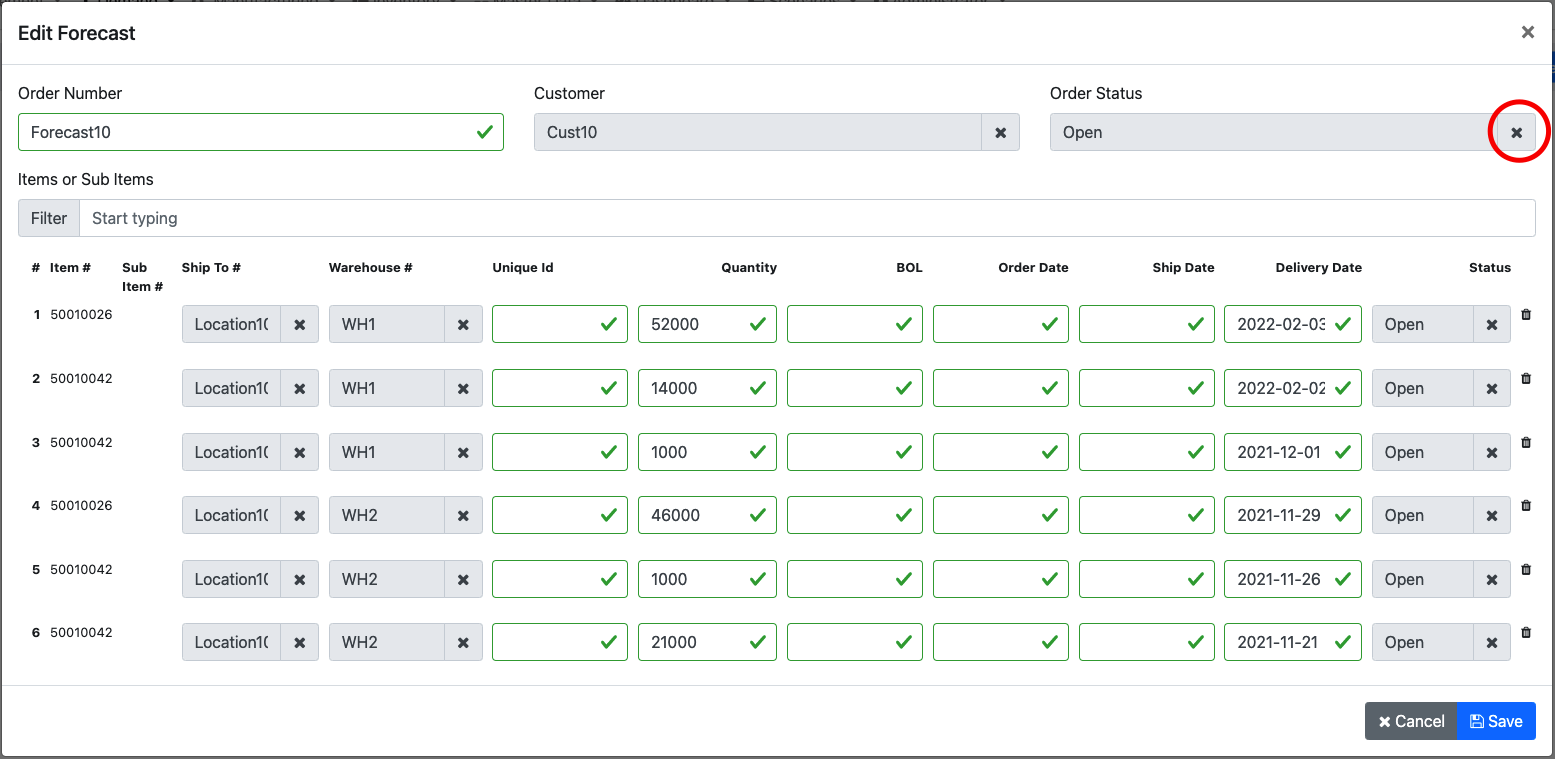
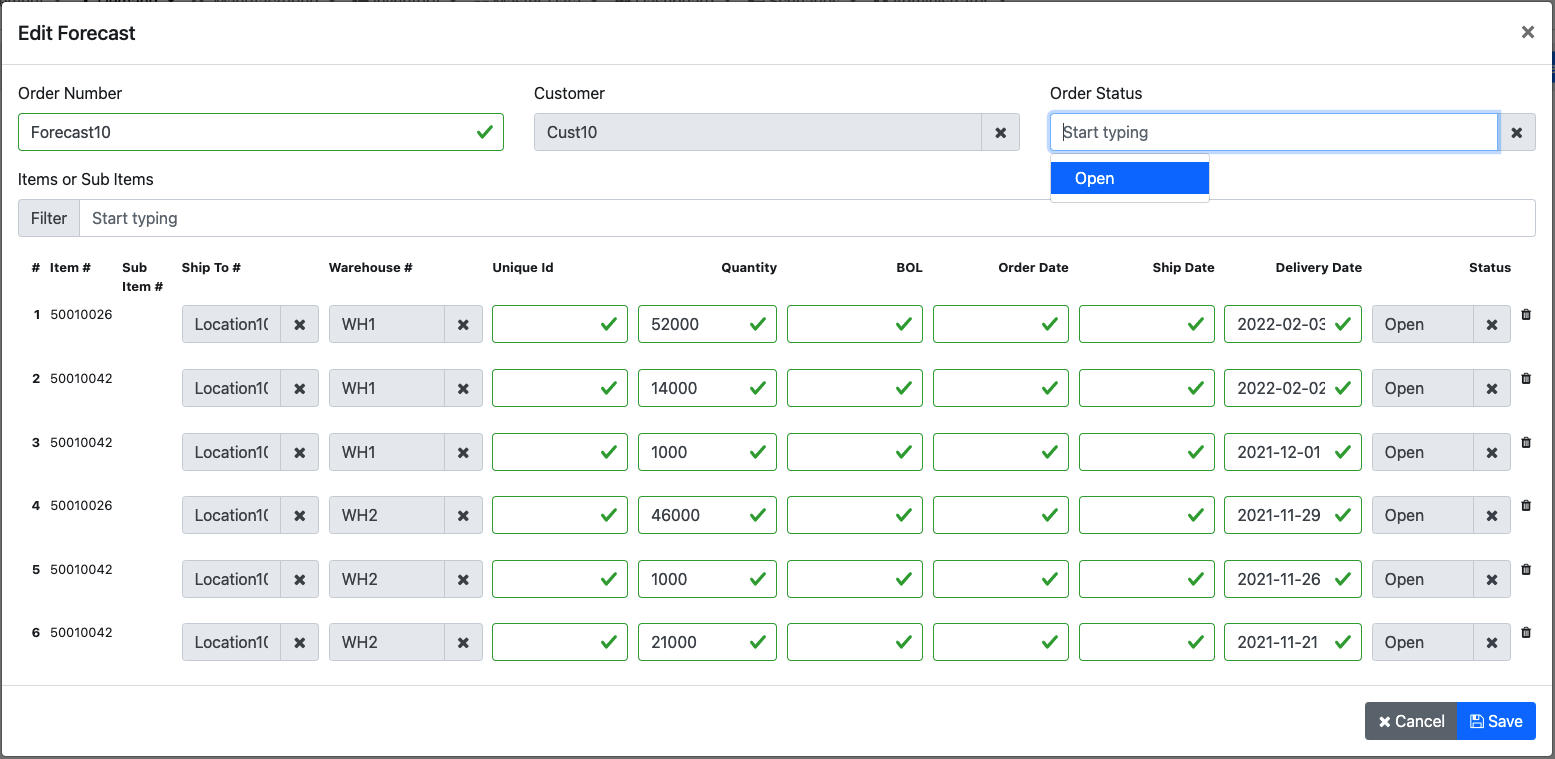
From this pop-up you can change the status on the top right hand side by clicking the x icon and then selecting a new status
# View items on a forecast order in a pop-up
From the top menu navigate to the Forecast Order Screen

Select the forecast order you want to see and click on its number

In the pop-up you can see all the details for that particular forecast order
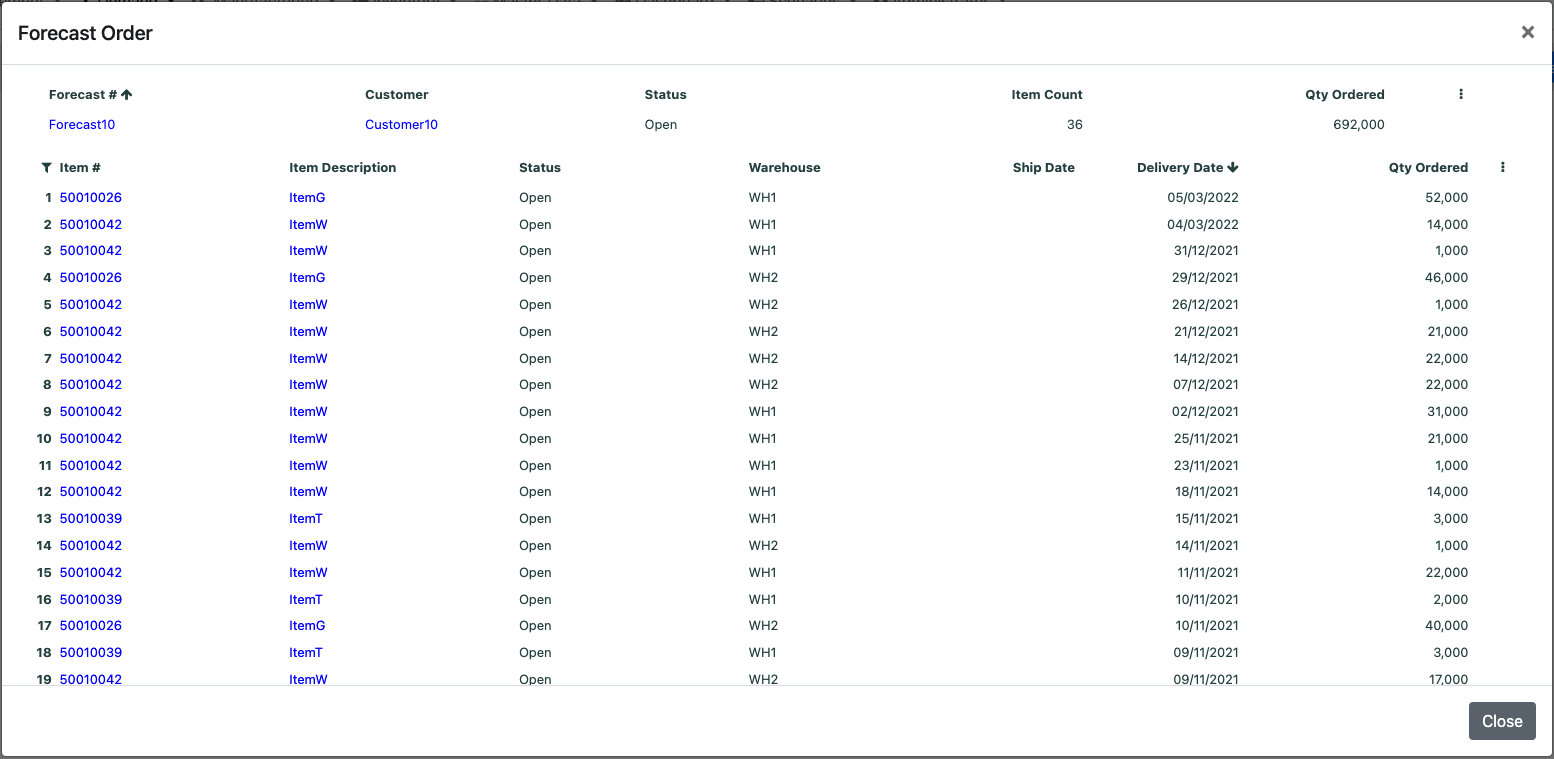
If you want to see the bill of material (if it has one) for a particular item simply click on the item number or the item description
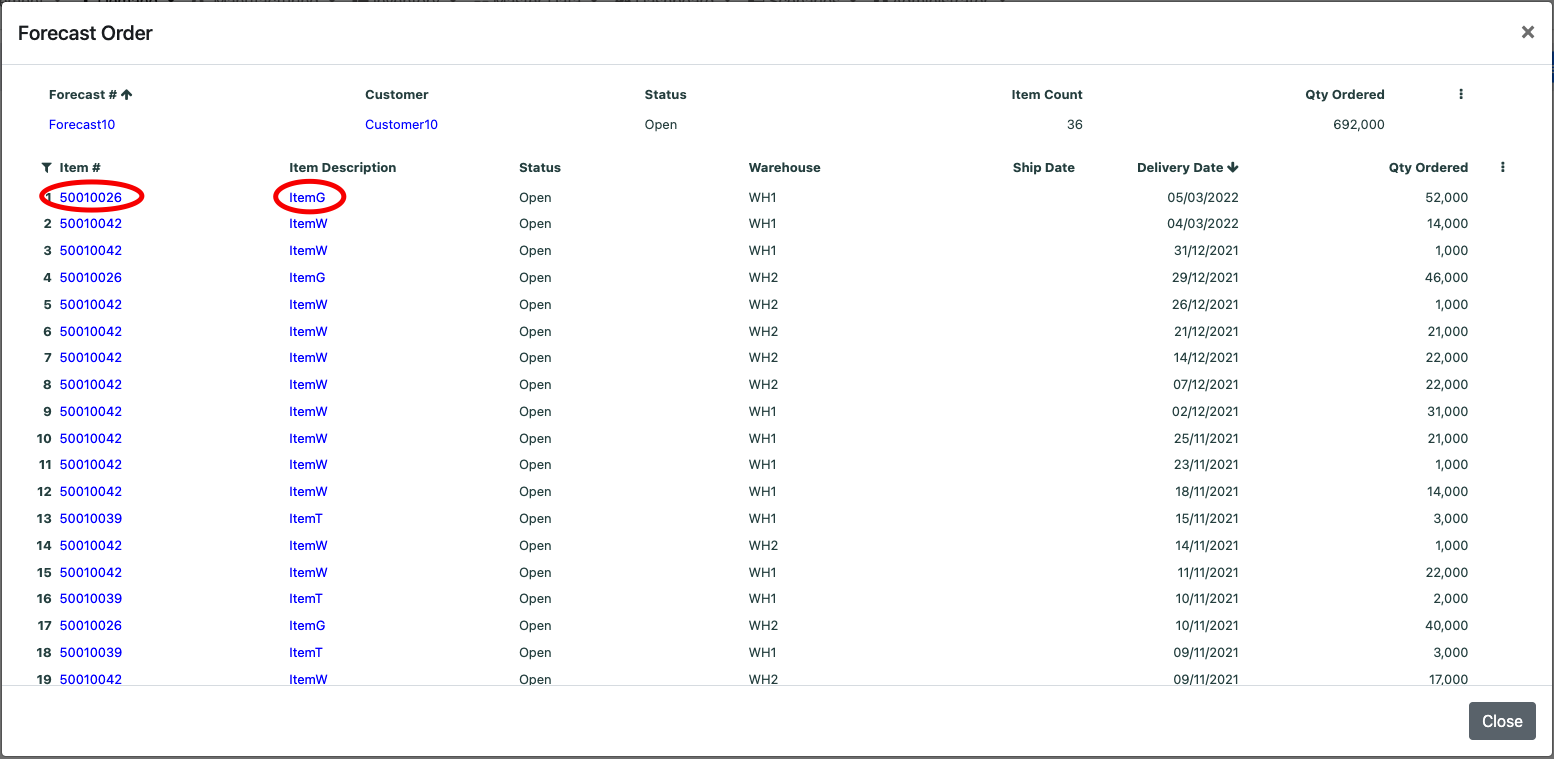
A pop-up will open with the bill of material and you can see from here the quantities available, expected, and that will be used for manufacturing for each of the raw materials
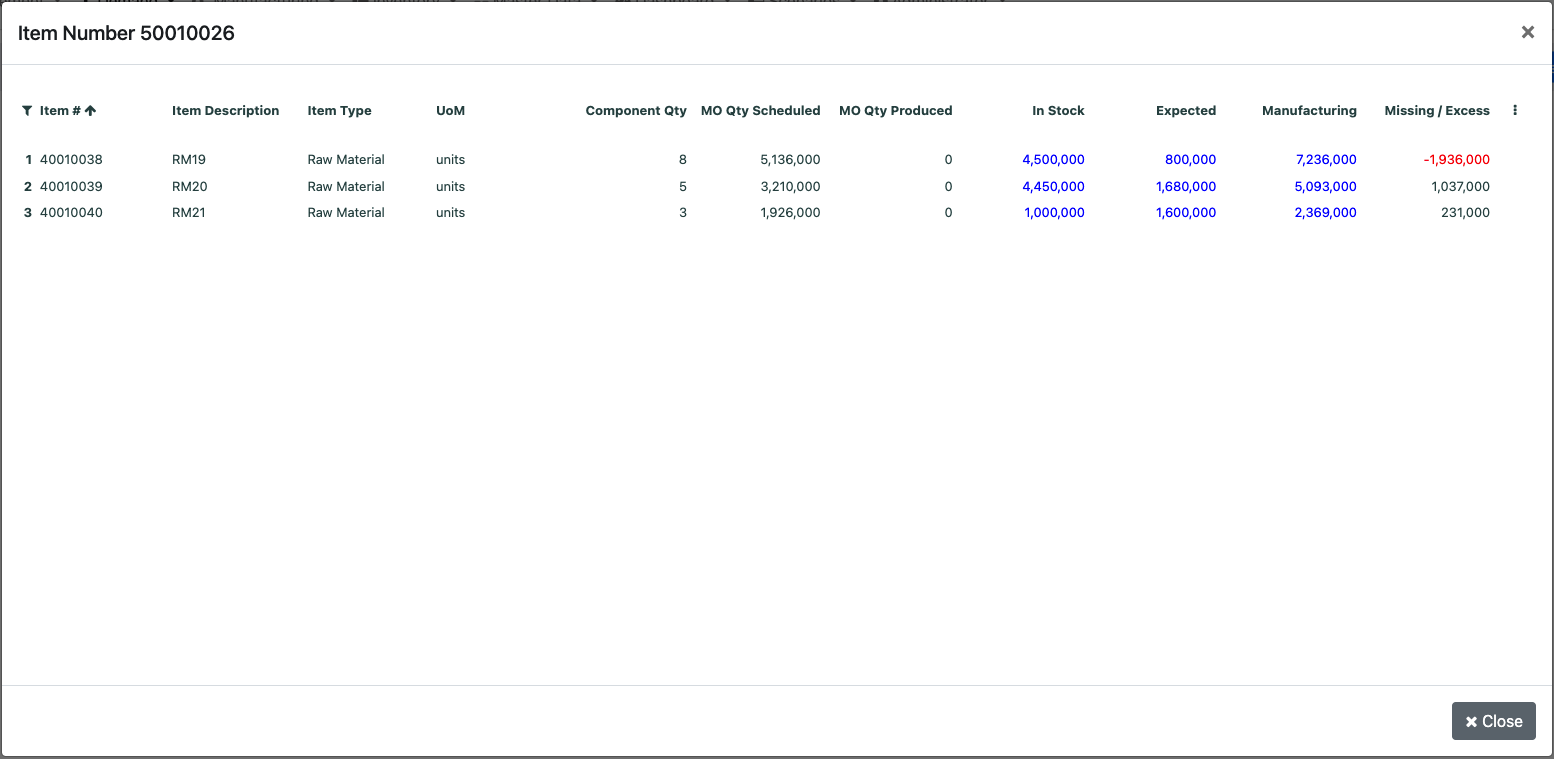
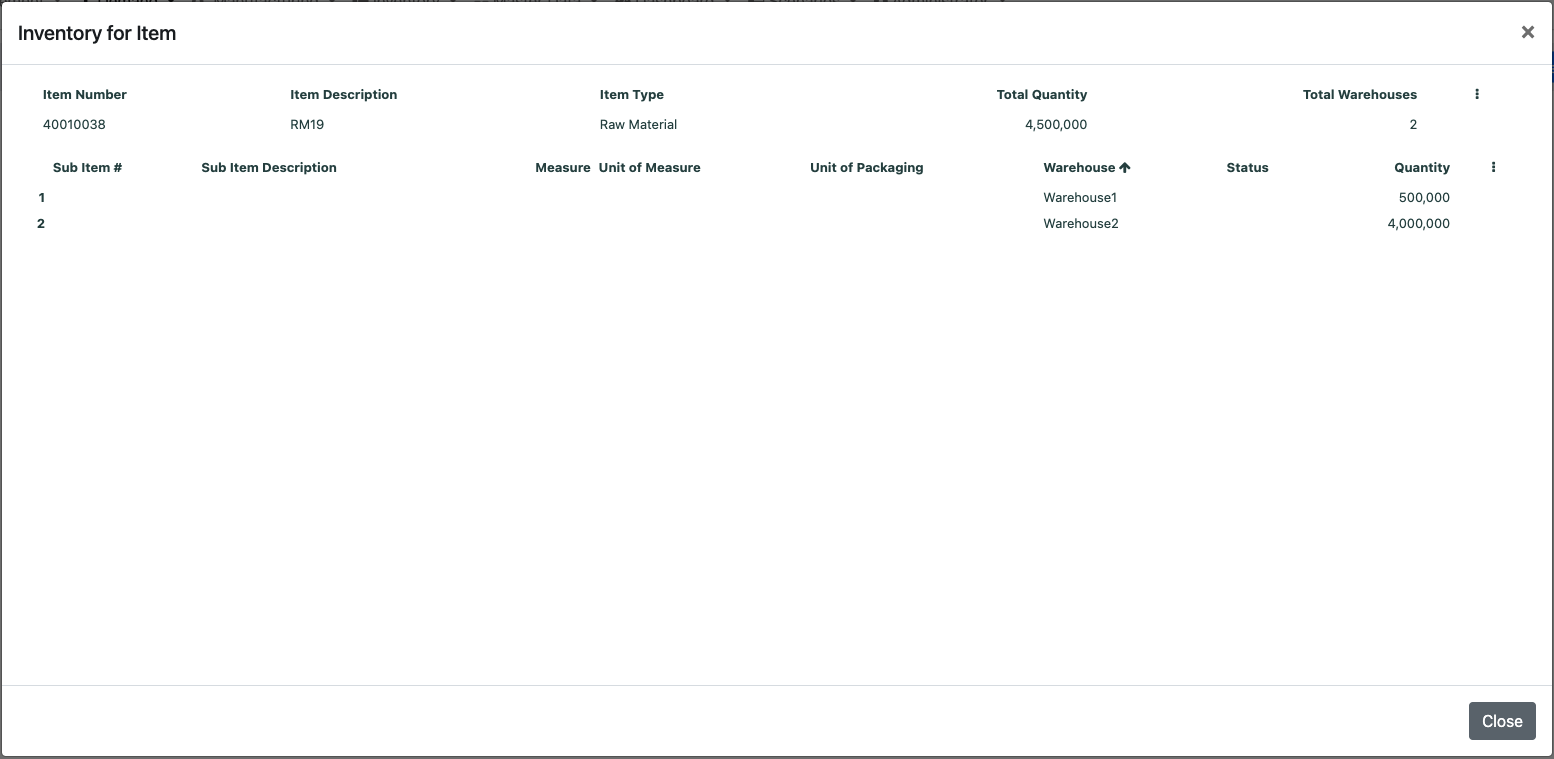
In this pop-up you can click on the in stock quantity to see in which warehouses you have the item available and in what quantities
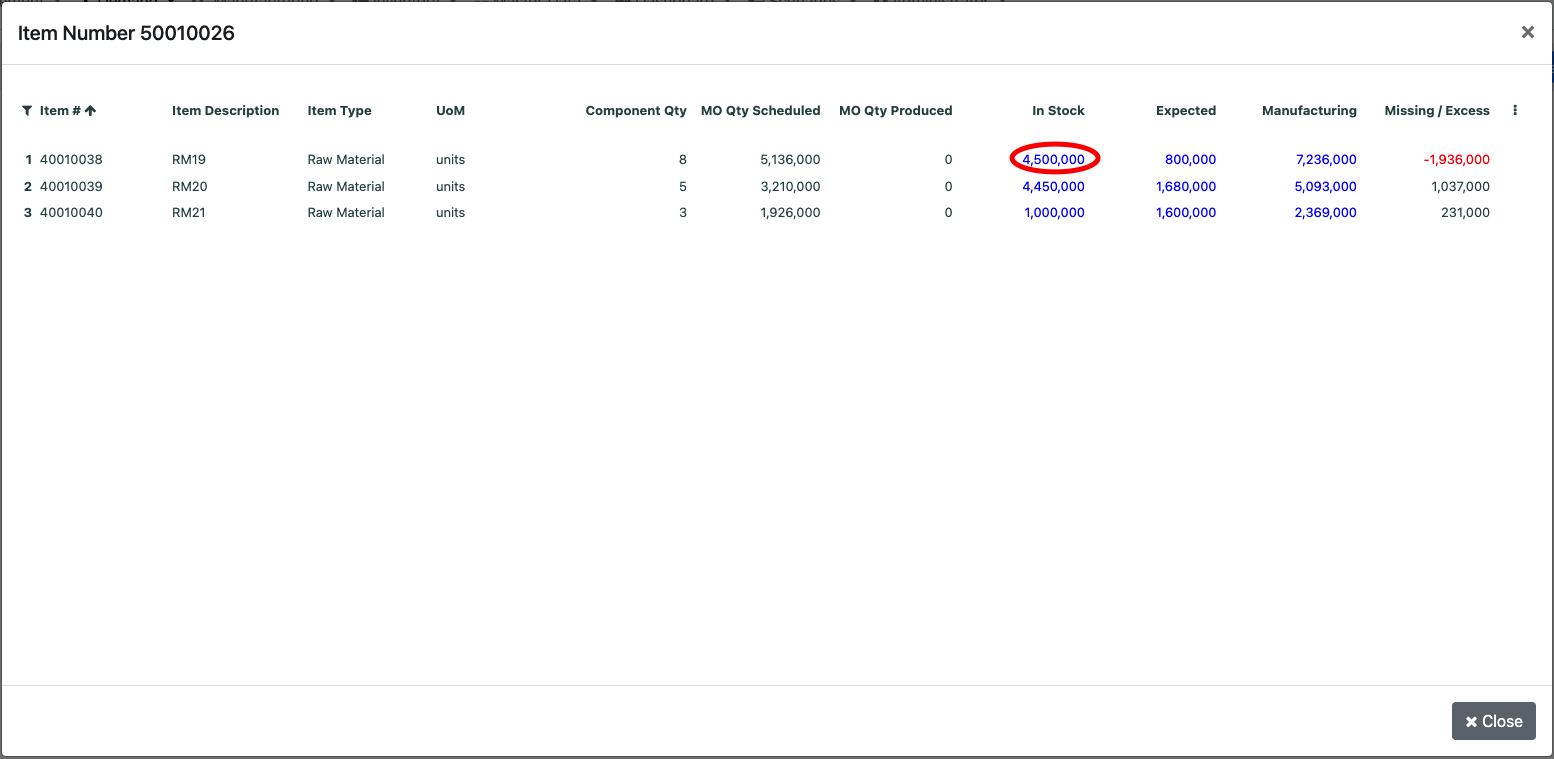
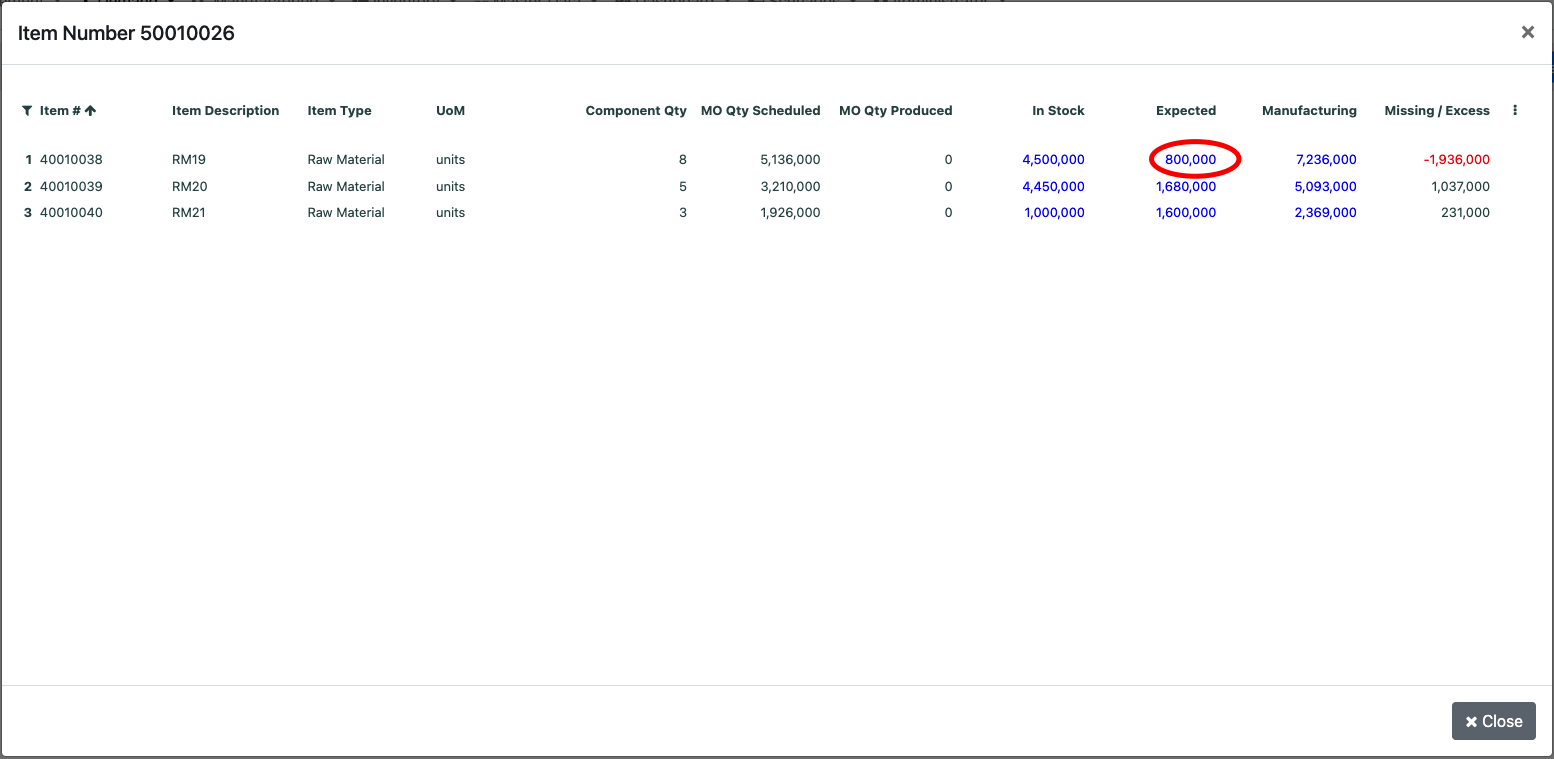
In the previous pop-up you can click on the expected quantity to see the open purchase orders containing that particular item
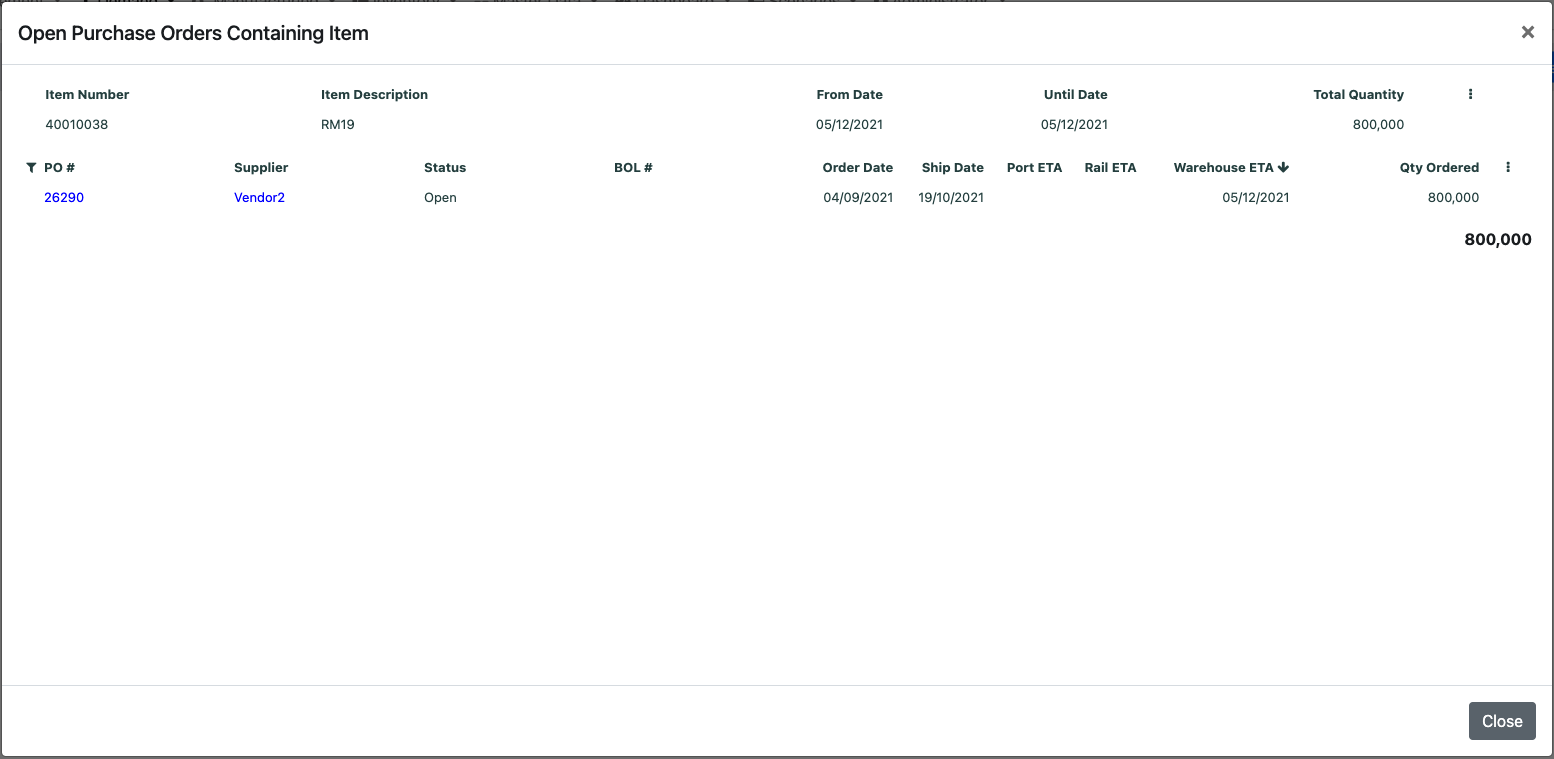
In the pop-up with the open purchase orders you can further drill down to see the contents of a particular purchase order
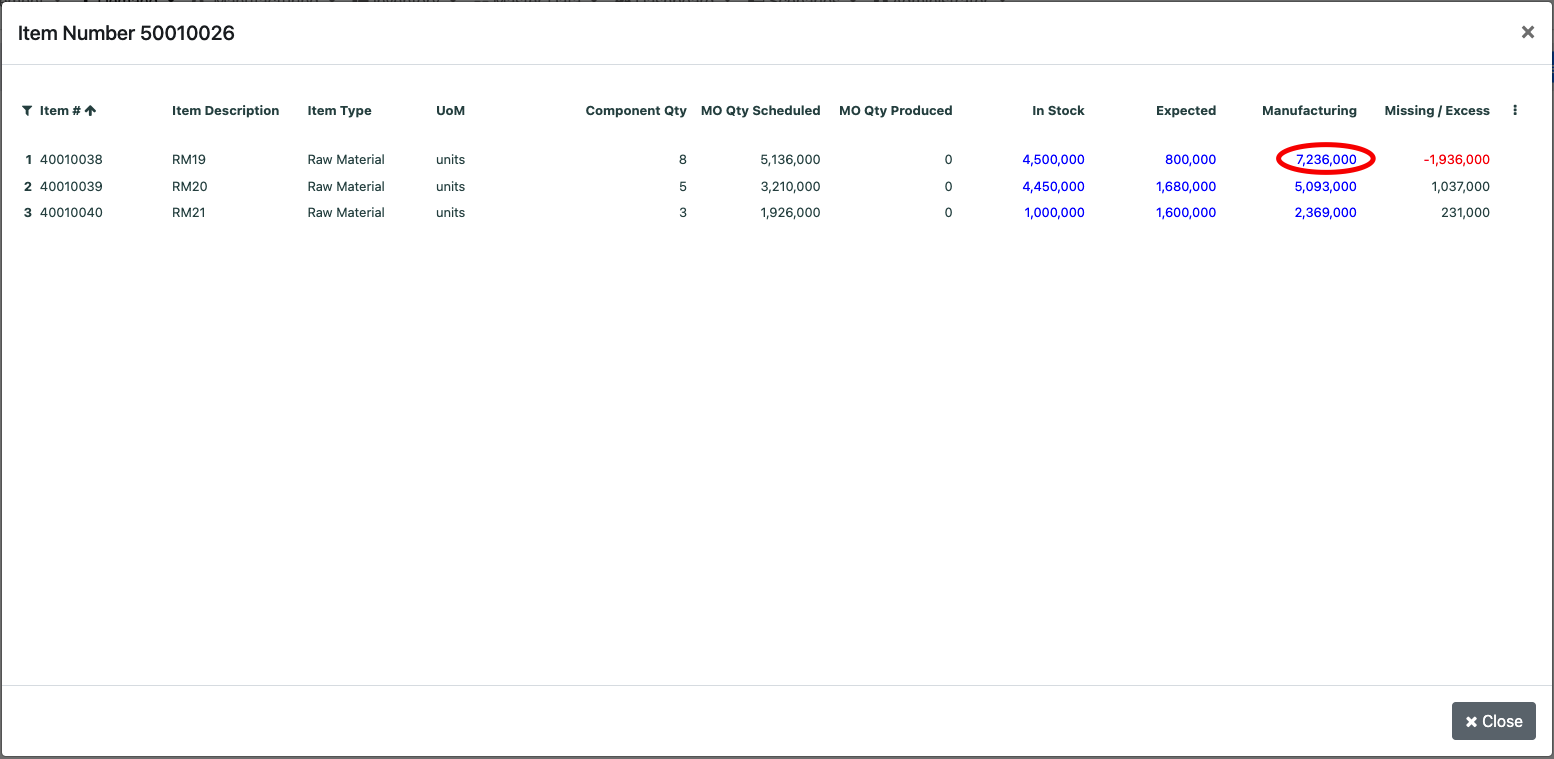
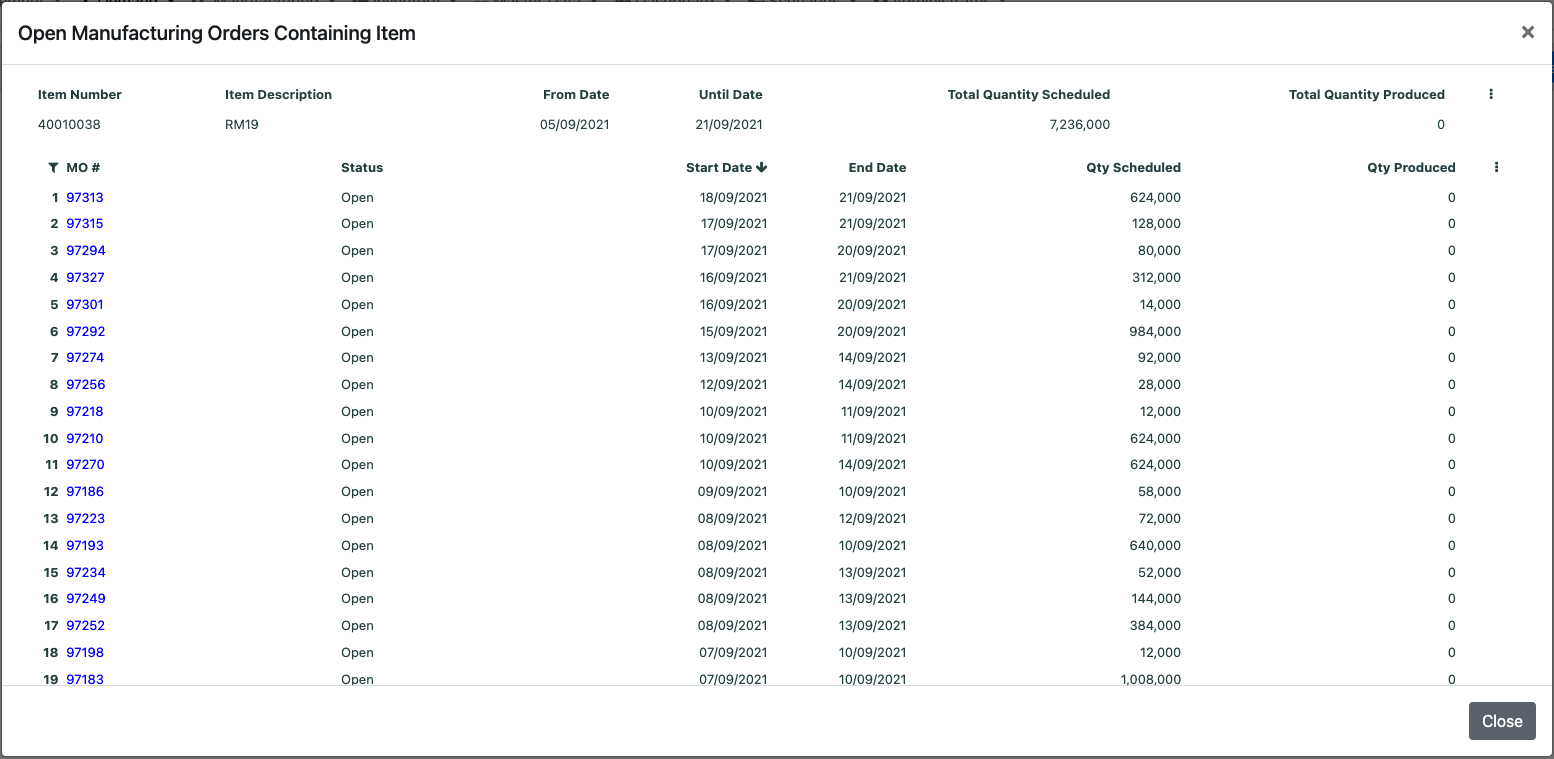
In the previous pop-up you can click on the manufacturing quantity to see the open manufacturing orders containing that particular item
In the pop-up with the open manufacturing orders you can further drill down to see the contents of a particular manufacturing order
# View items on a forecast order in the same screen
From the top menu navigate to the Forecast Order Screen

Select the forecast order you want to see and click on the "+" icon

The screen will expand and you can see the details of one or multiple forecast orders at the same time

# View or edit customer details
From the top menu navigate to the Forecast Order Screen

Select the customer you want to see and click on it

A pop-up will appear with the customer details
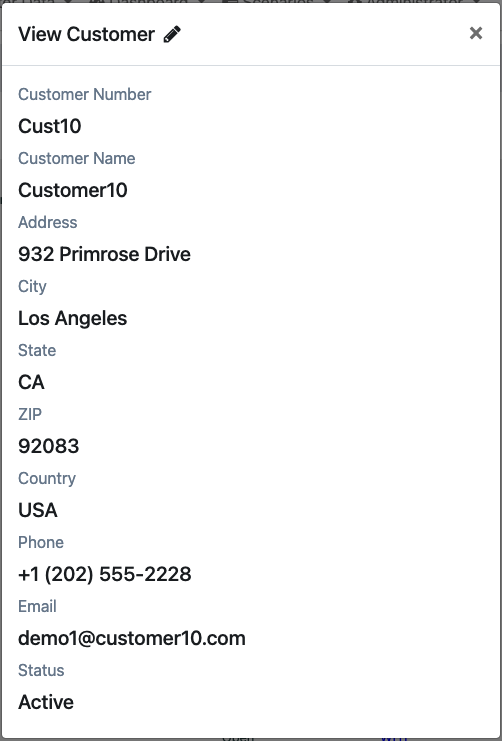
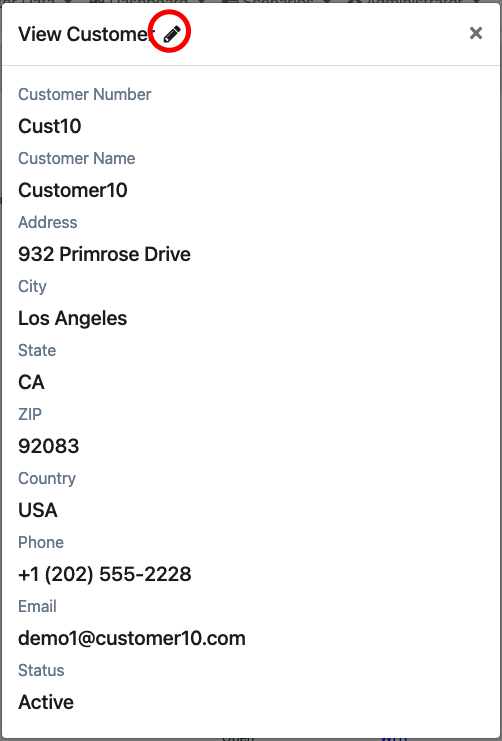
In order to edit the customer you can click on the edit button at the top of the pop-up
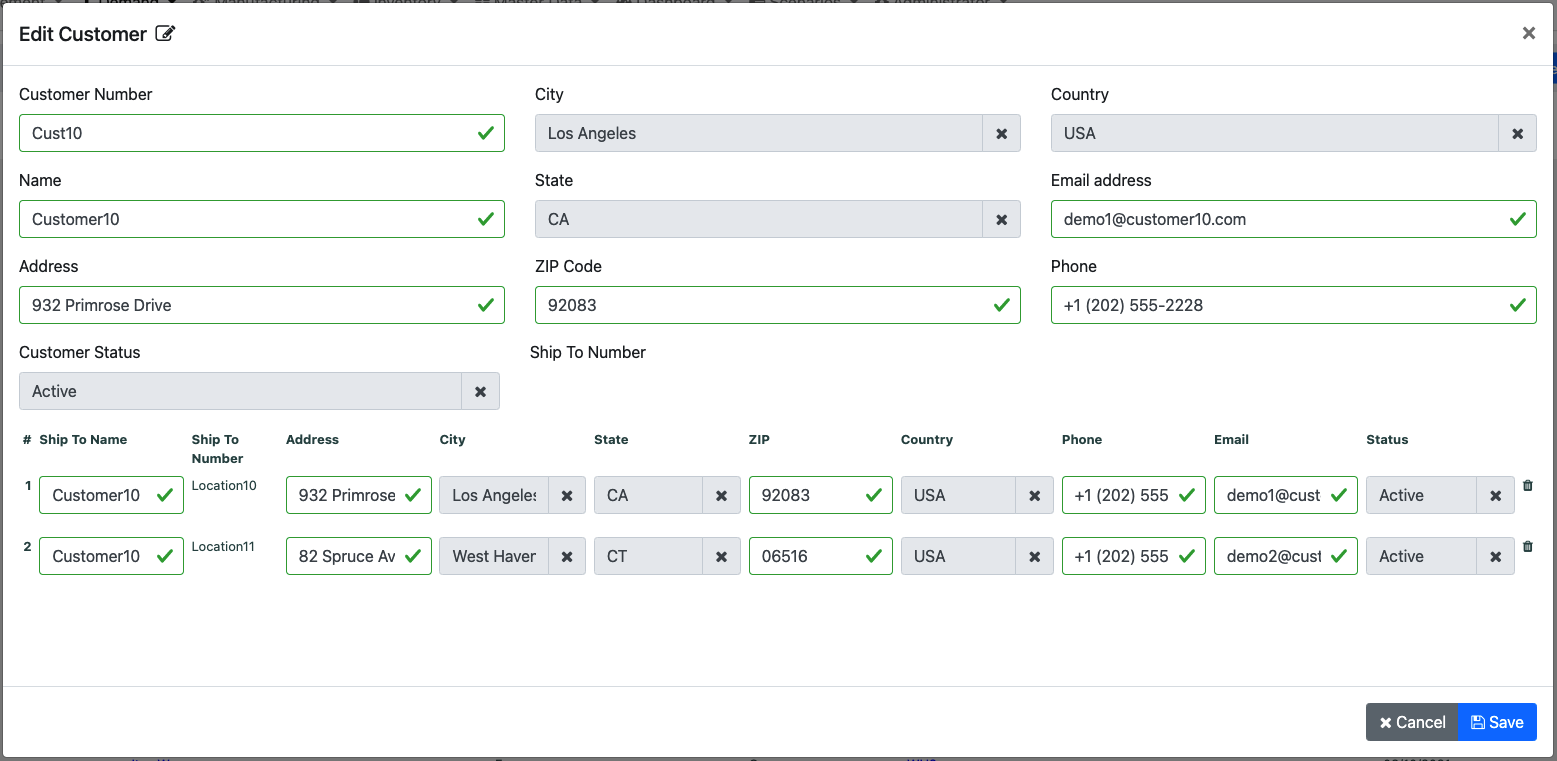
Now you can edit and save changes to the customer in the new screen
# View or edit warehouse details
From the top menu navigate to the Forecast Order Screen

Select a forecast order and open it's details on screen then click on the warehouse you want to see

A pop-up will appear with the warehouse details
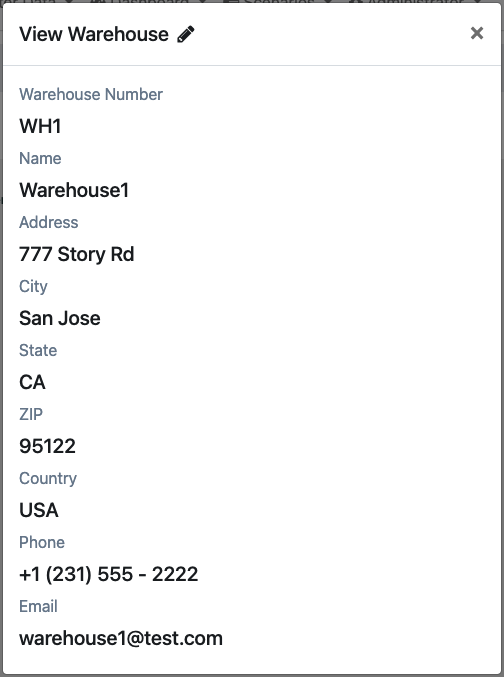
In order to edit the warehouse you can click on the edit button at the top of the pop-up
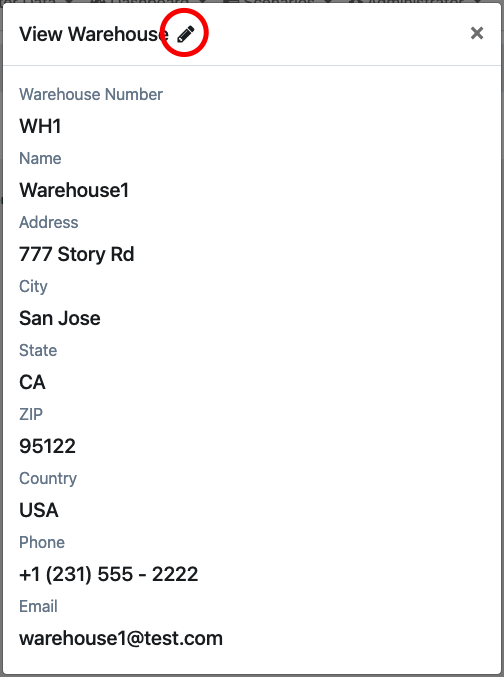
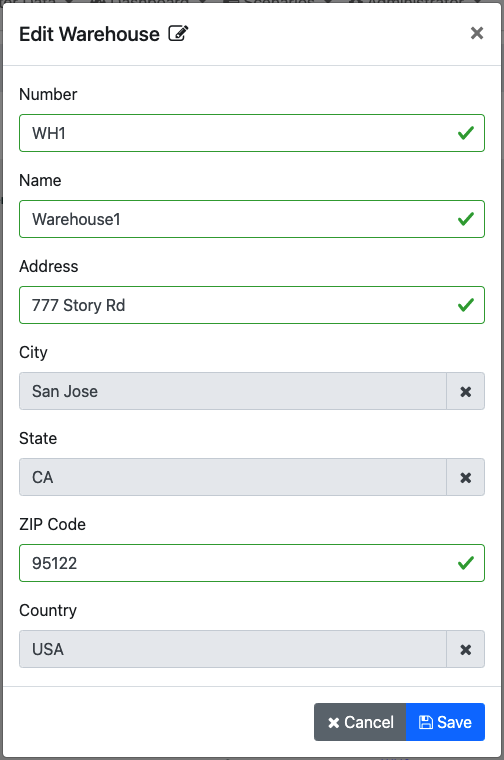
Now you can edit and save changes to the warehouse in the new screen
# View all open forecast orders containing an item
From the top menu navigate to the Forecast Order Screen

Select a forecast order and open it's details on screen then click on the item number or item description you want to see

A pop-up will appear with all the open forecast orders containing that item
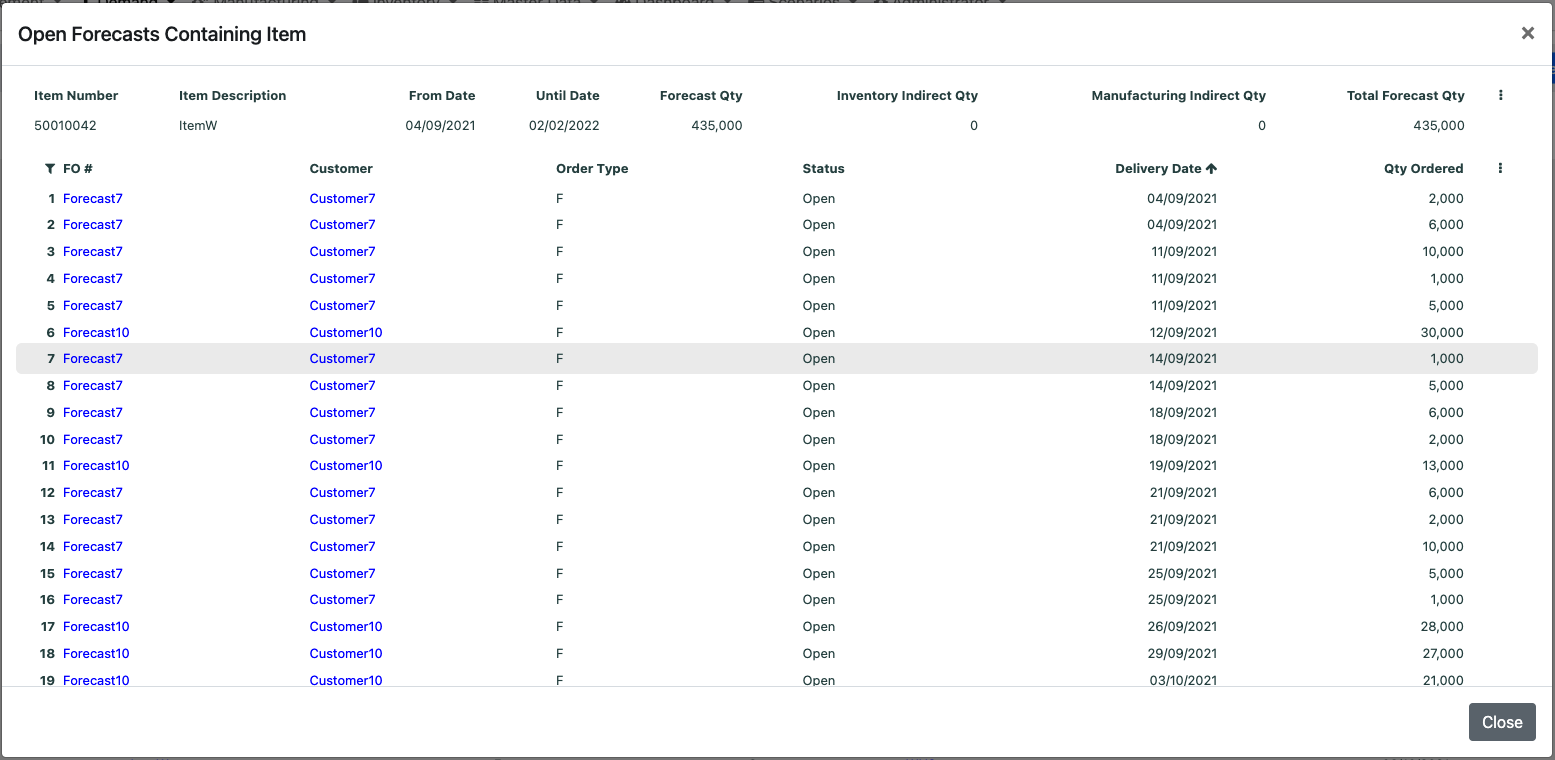
You can click on a customer to view its details similar to View or edit customer details or you can click on a forecast order number to see the details for that forecast order similar to View items on a forecast order.
# Delete a forecast order
From the top menu navigate to the Forecast Order Screen

Select a forecast order you want to delete and click on the trash can icon

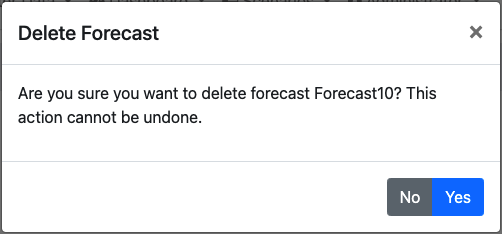
A confirmation pop-up will appear to confirm the deletion of the forecast order
# Bulk upload data
Bulk data can be uploaded by using our templates, for more details on how to do this please consult our Uploading section
# Advanced actions
For customizing column names, order of the columns, creating and saving a view, exporting to Excel and other advanced features see our Advanced menu section
# Column explanation
# Header columns
# Forecast
Represents the forecast order number that is used to uniquely identify a forecast order in the system. This number needs to be unique, and can have both numbers and letters.
# Customer
Represents the Customer name that is defined in the master data.
# Status
Represents the status of a forecast order, this can be Open, Closed, Shipped, Partially Shipped, and Partially Received.
# Item Count
Represents the number of items on a forecast order.
# Qty Ordered
Represents the total quantity of all the items on that forecast order.
# Detail columns
# Item
Represents the item number that is used to uniquely identify an item in the system. This number needs to be unique, and can have both numbers and letters.
# Item Description
Represents the item description corresponding to a particular item number.
# Sub Item
Represents the sub item number (if any) unique at item level. This number needs to be unique at item level, and can have both numbers and letters.
# Status
Represents the status of an item (or subitem) at the forecast order level, this status for each item can be Open, Shipped, Received.
# Warehouse
Represents the warehouse number that is defined in the master data.
# ETA Date
Represents the date at which an item was received or is expected to be received by the customer. Different items on the same forecast order can have different ETA dates.
# Qty Ordered
Represents the quantity ordered for an item or sub item on a forecast order.
