# Advanced menu
# Opening the advanced table menu
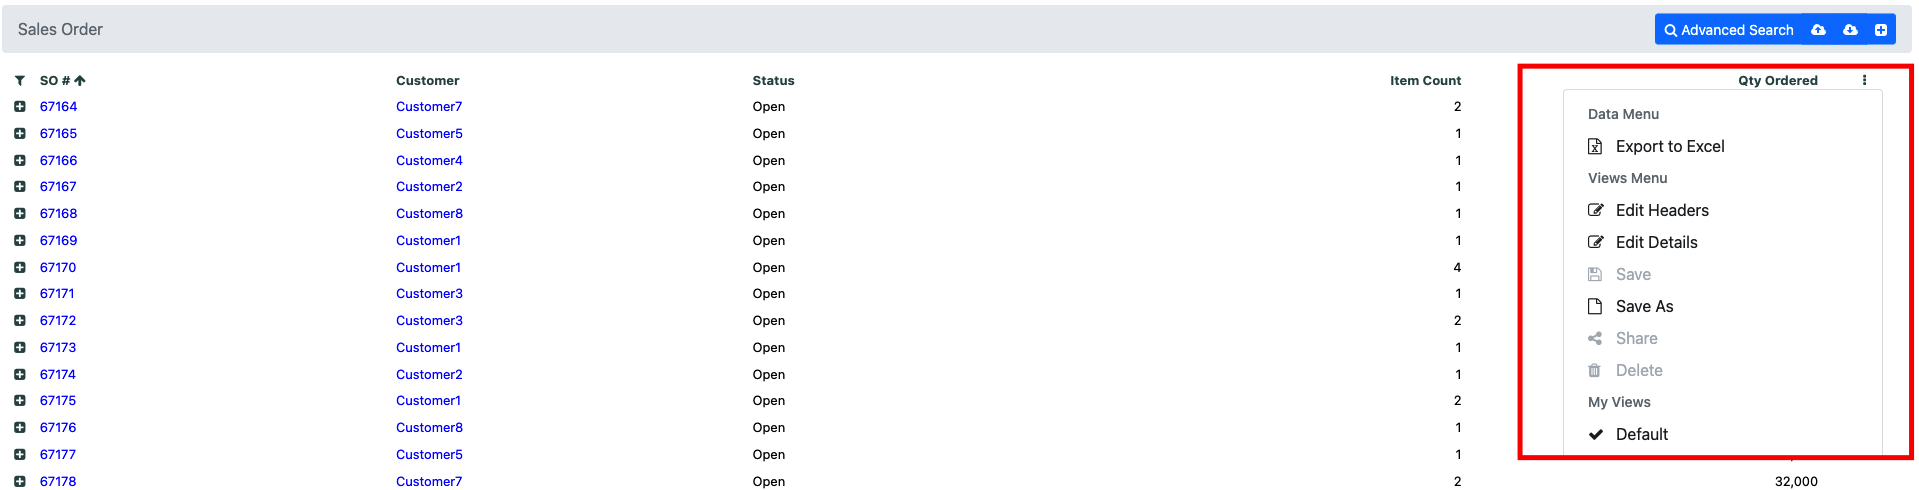
Whenever you see this icon at the end of a table header you can click on it to see additional options

A menu will appear with all the available options for that screen
# Exporting to Excel
Open the advanced menu for the screen you want to export
From the Data Menu section click on the Export to Excel button
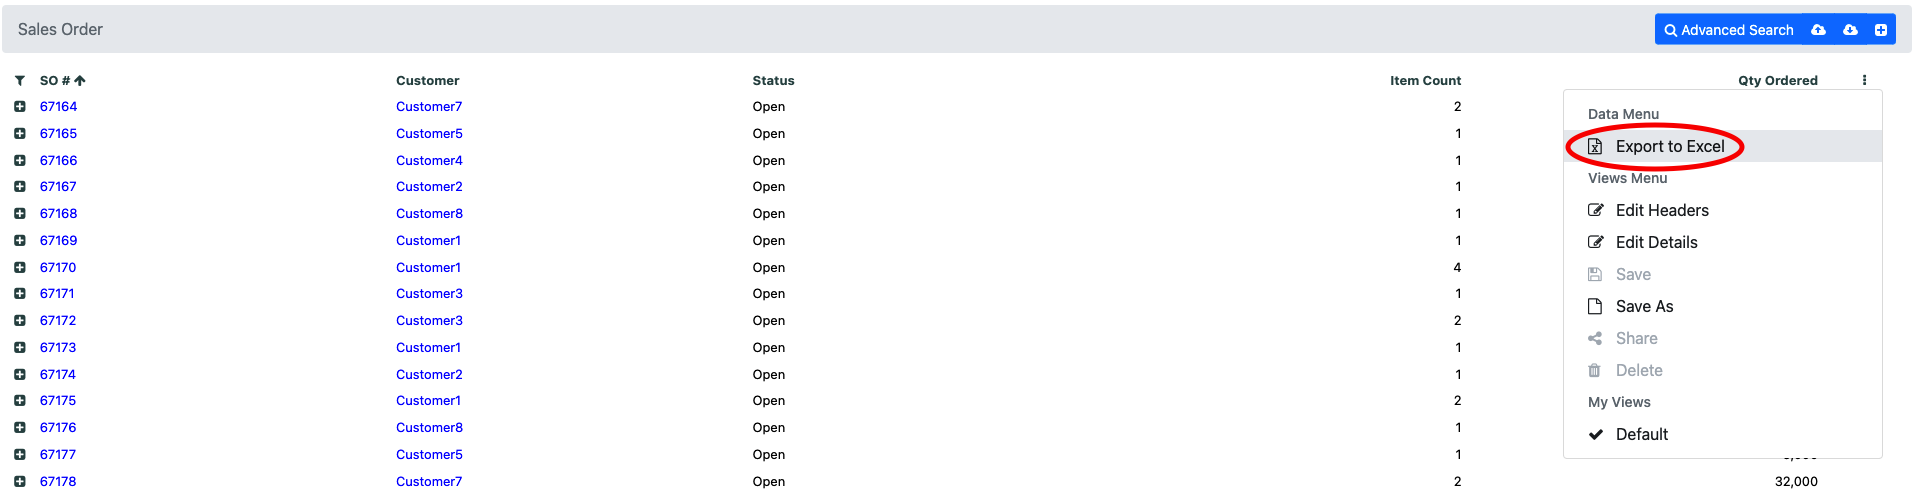
An excel file will be downloaded to your computer with the on screen data. Please note that any filters applied to the current View will be reflected in the export. For more details about filters please see our Filters section
# Customize a view
Open the advanced menu for the screen you want to customize
# Customize filters
A view encompases both columns and filters. For more details about filters please see our Filters section
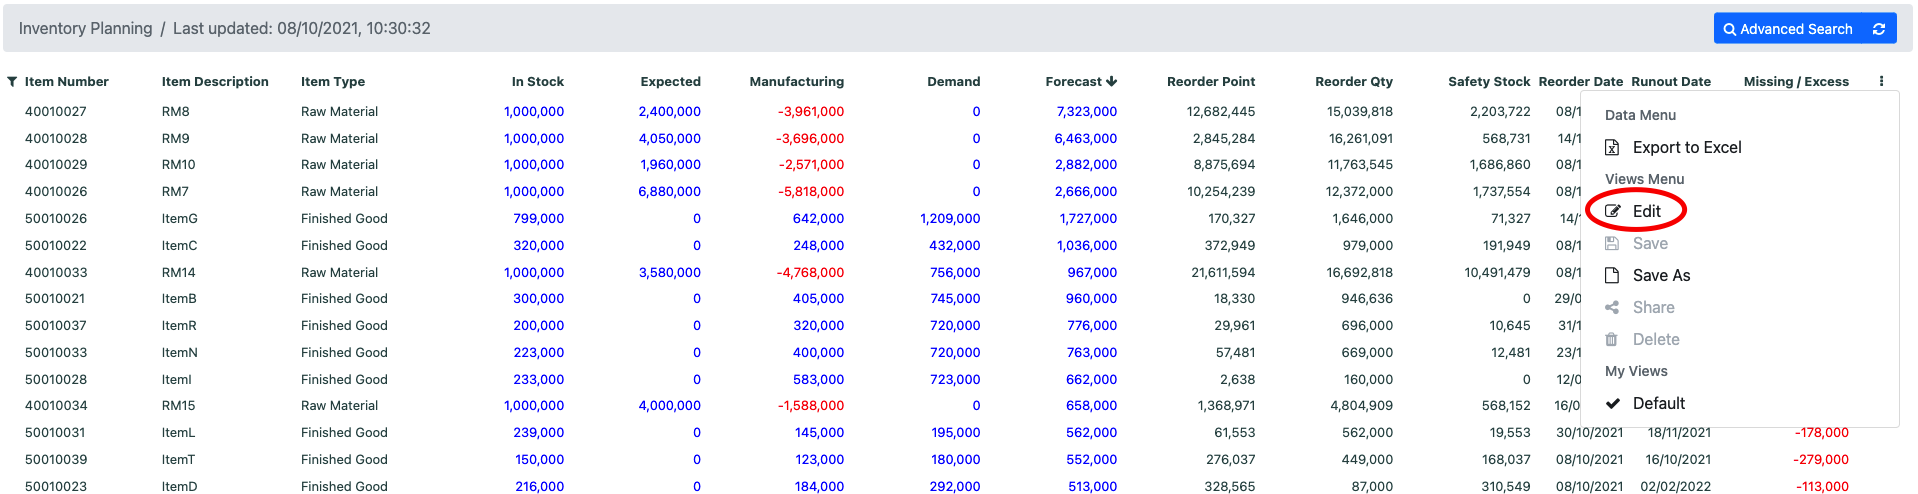
# Customize headers
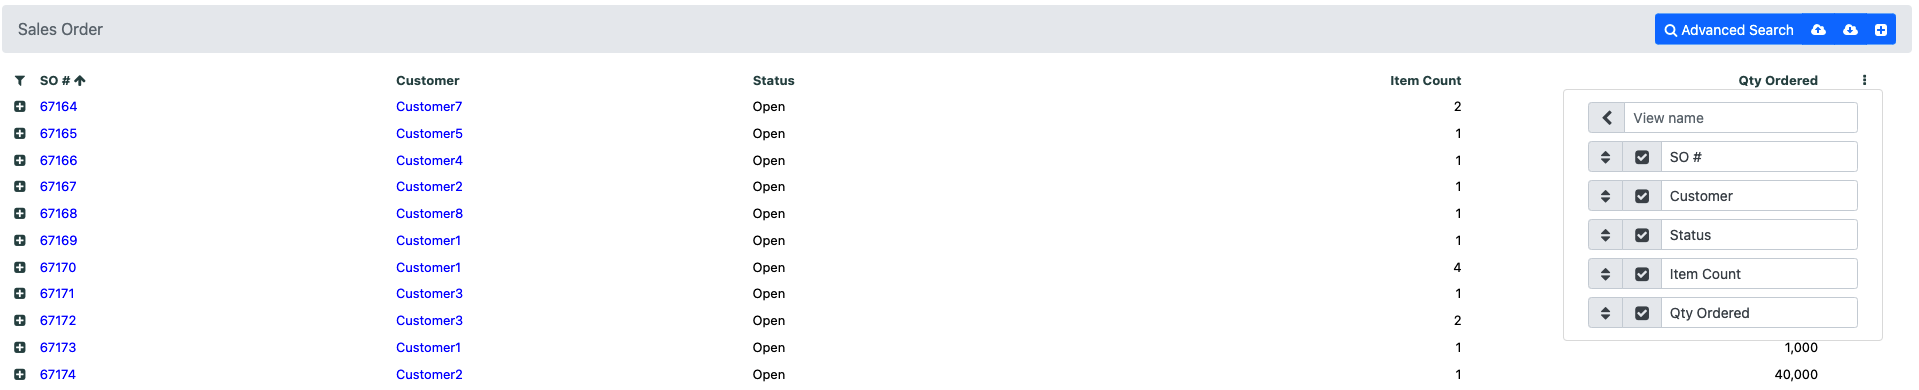
From the Views Menu section click on the Edit Headers button
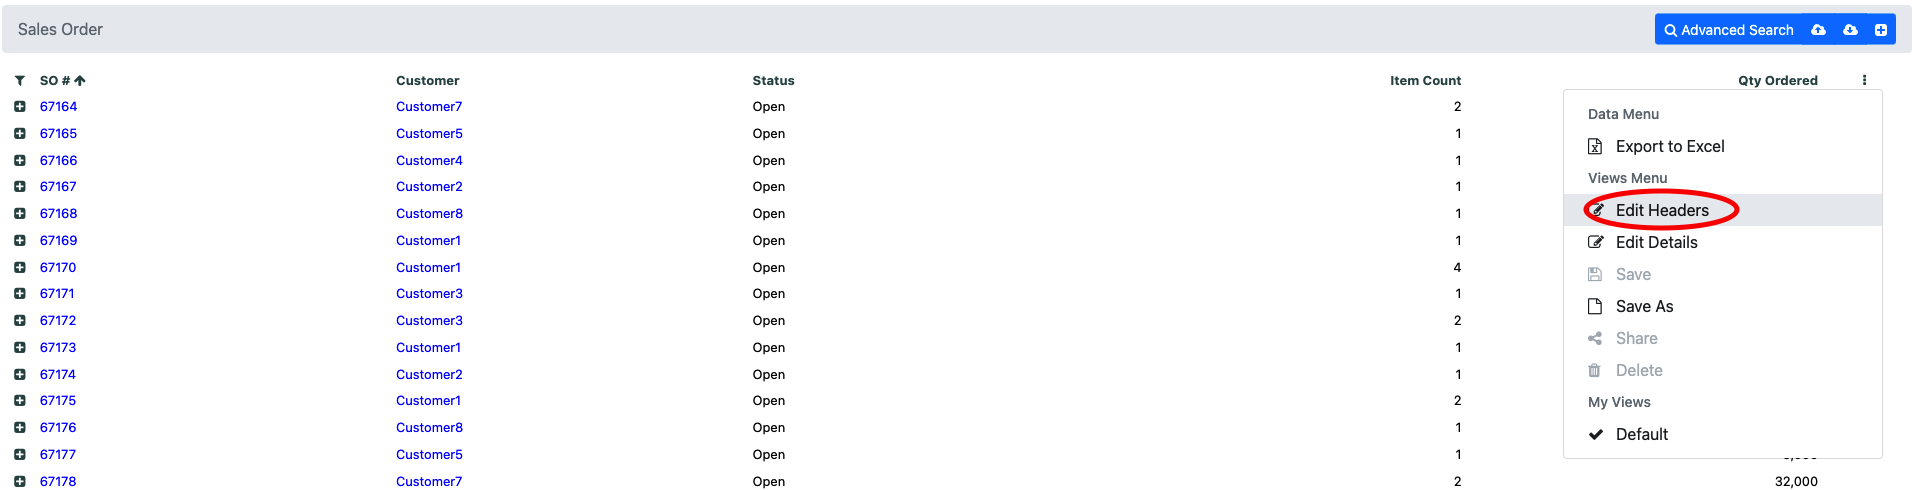
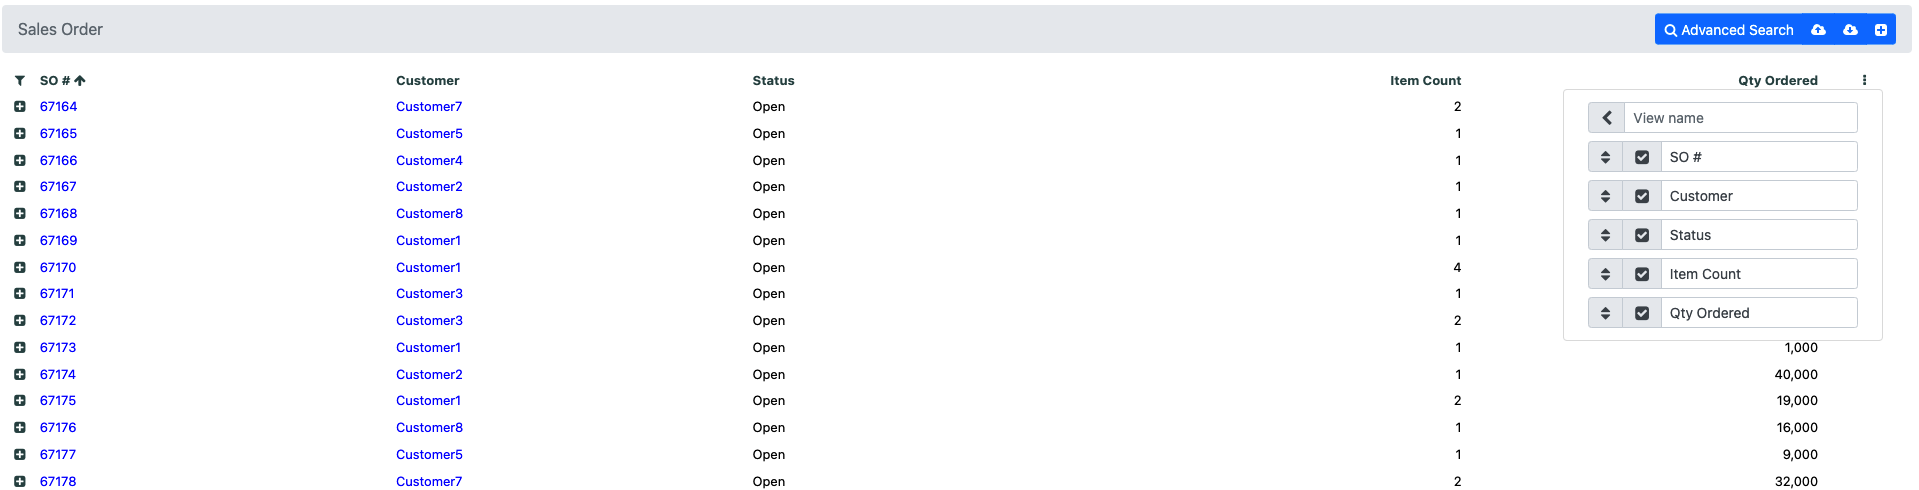
Another menu will appear with all the available columns
# Changing column order
From the headers menu you can simply drag and drop the columns to change their order the result will be visible on the screen as soon as the drop is done

In order to manage this view see the Managing views section
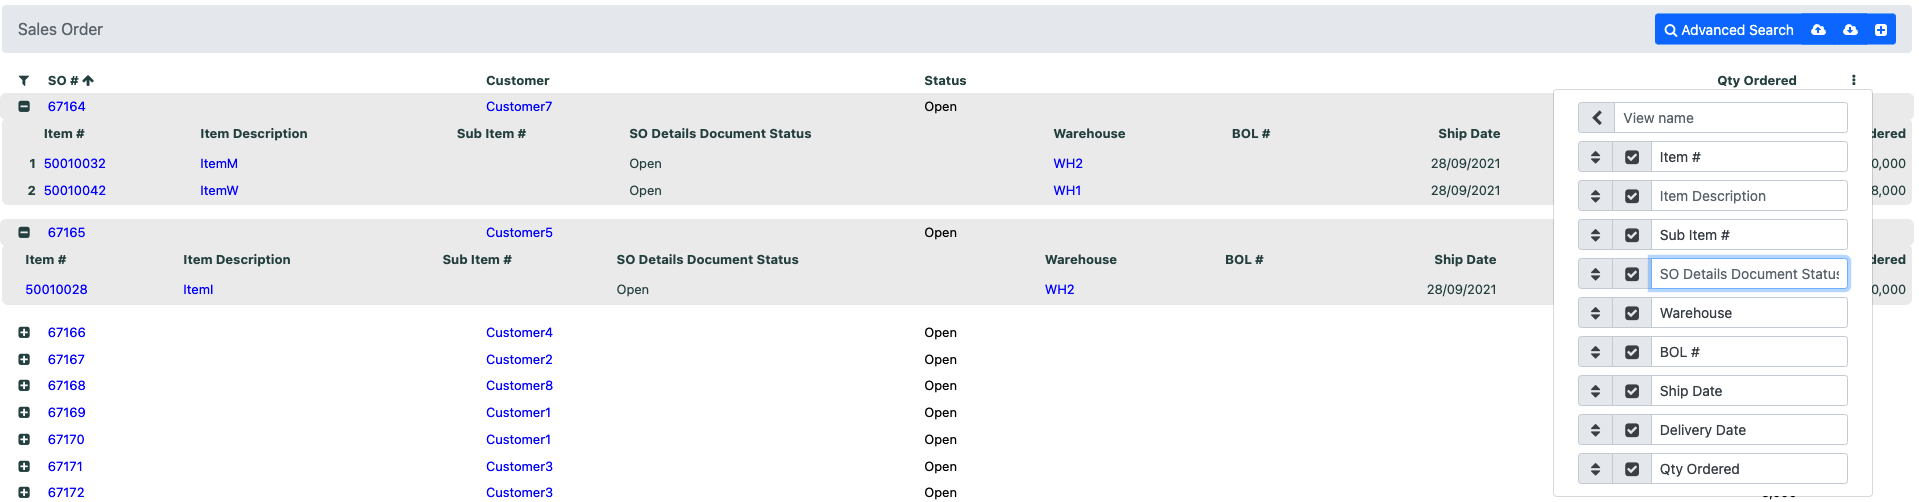
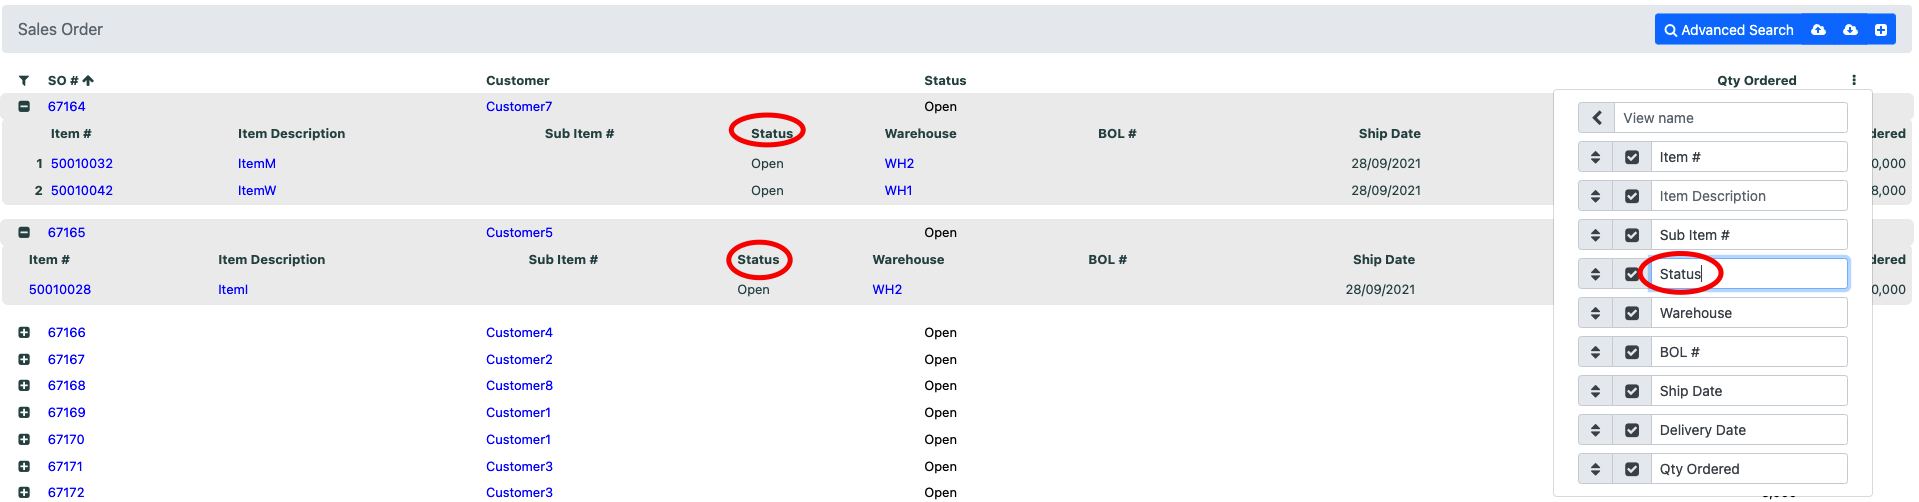
# Change column name
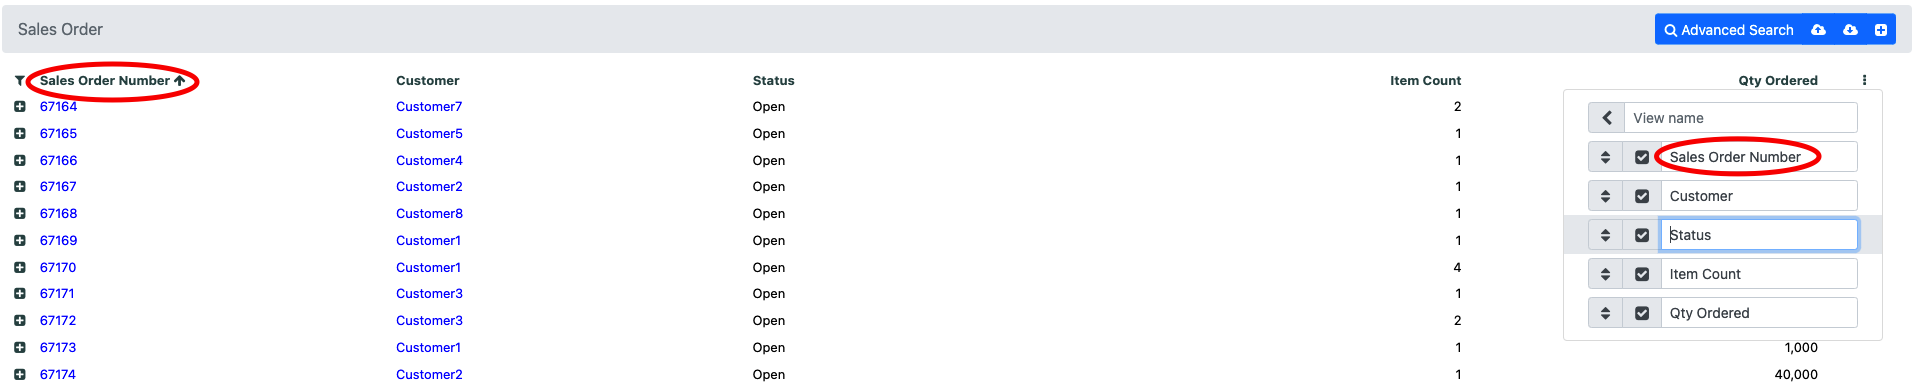
From the headers menu you can rename any column, by typing in the new name
The result will be imediatly be visible on screen as well
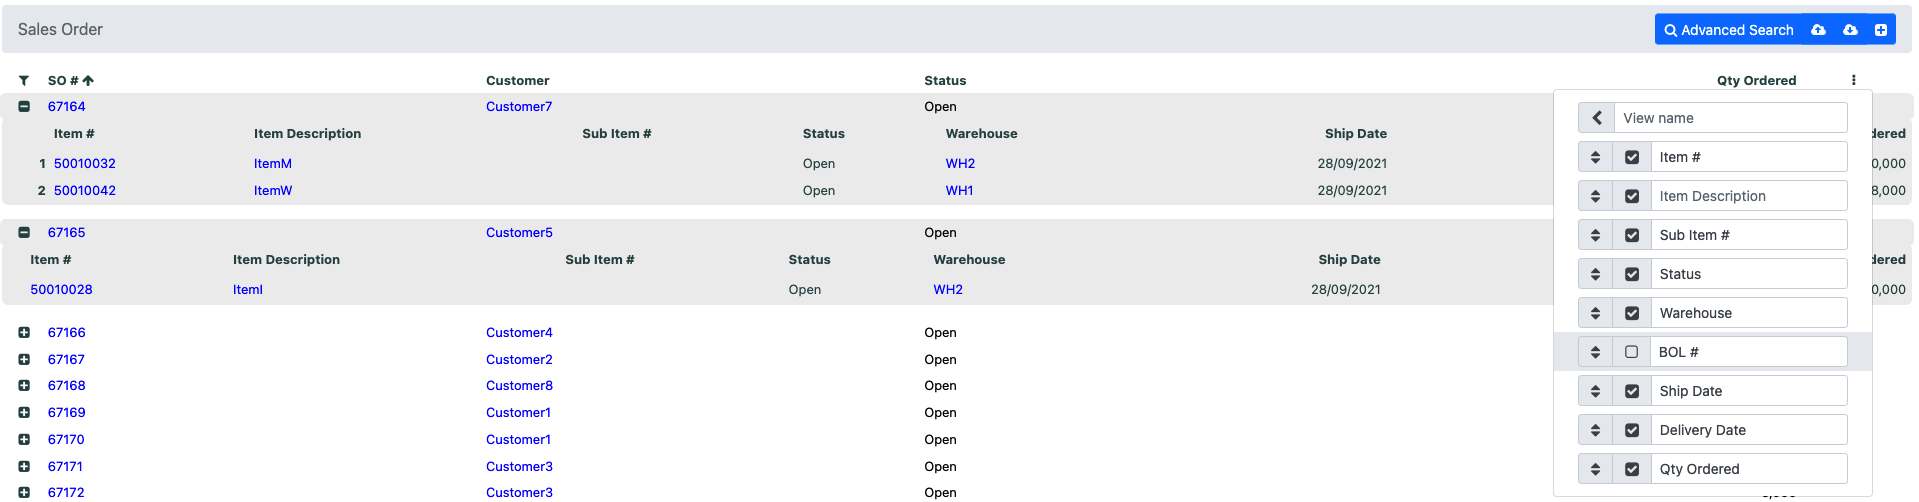
# Hide or show a column
From the headers menu you can hide any column, by clicking on the checkbox next to it
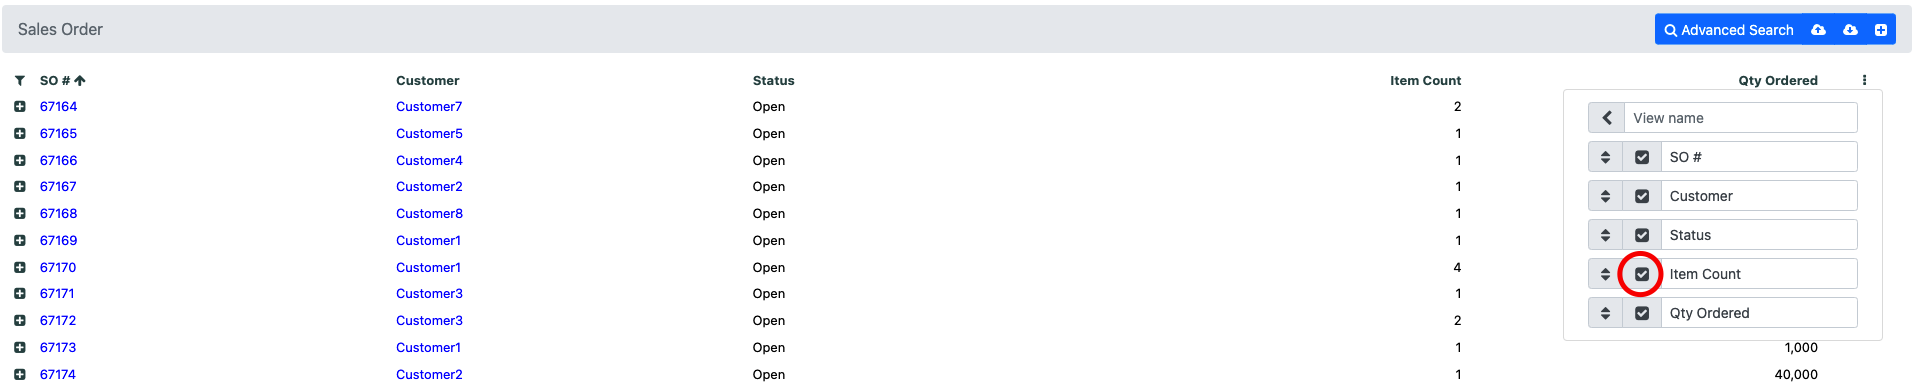
The result will be imediatly be visible on screen as well
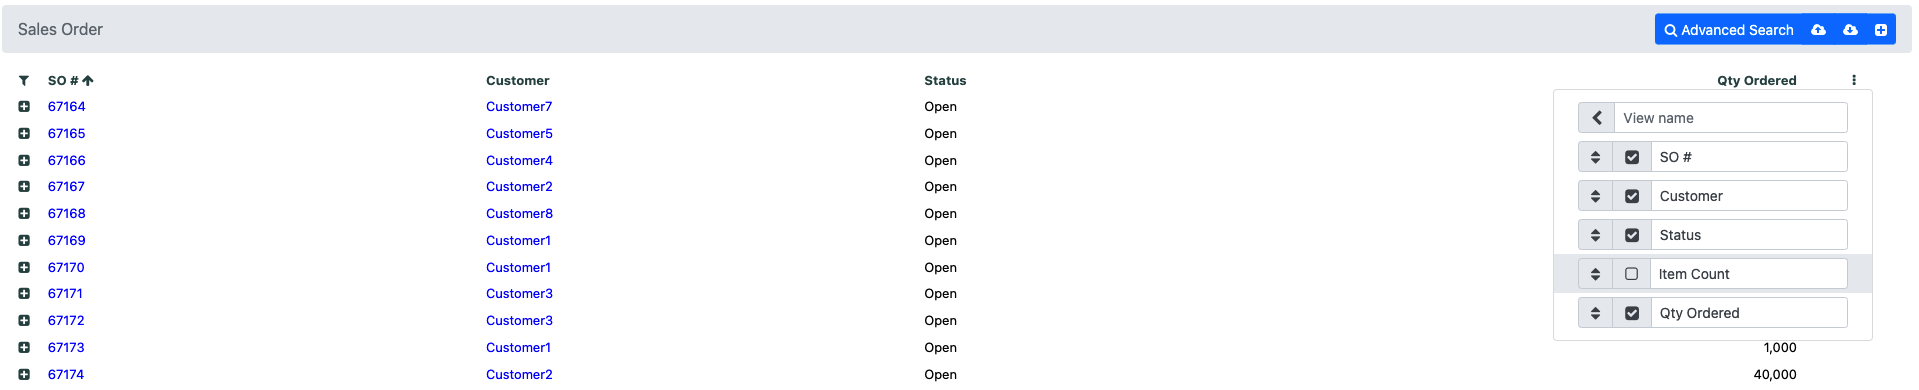
To add the column back simply click on the checkbox again
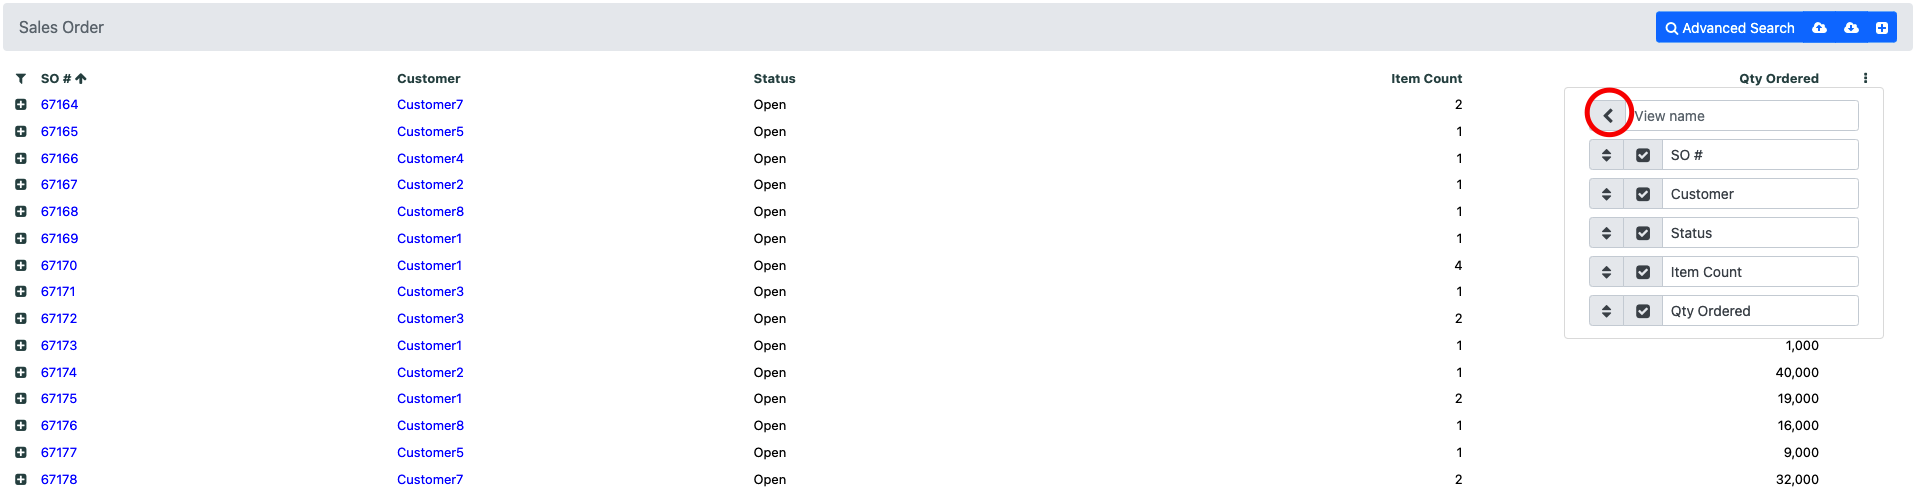
# Going back to the previous menu
In order to go back to the previous menu simply click on the back button
# Customize details
From the Views Menu section click on the Edit Details button
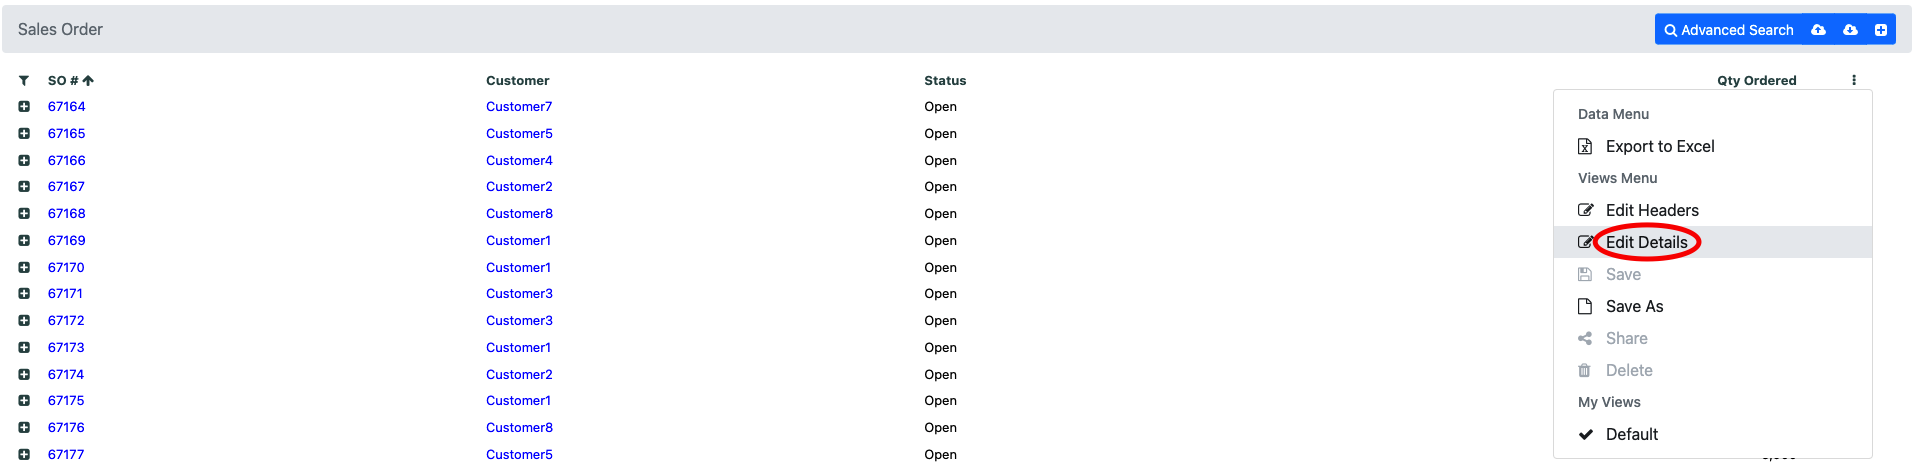
Another menu will appear with all the available columns
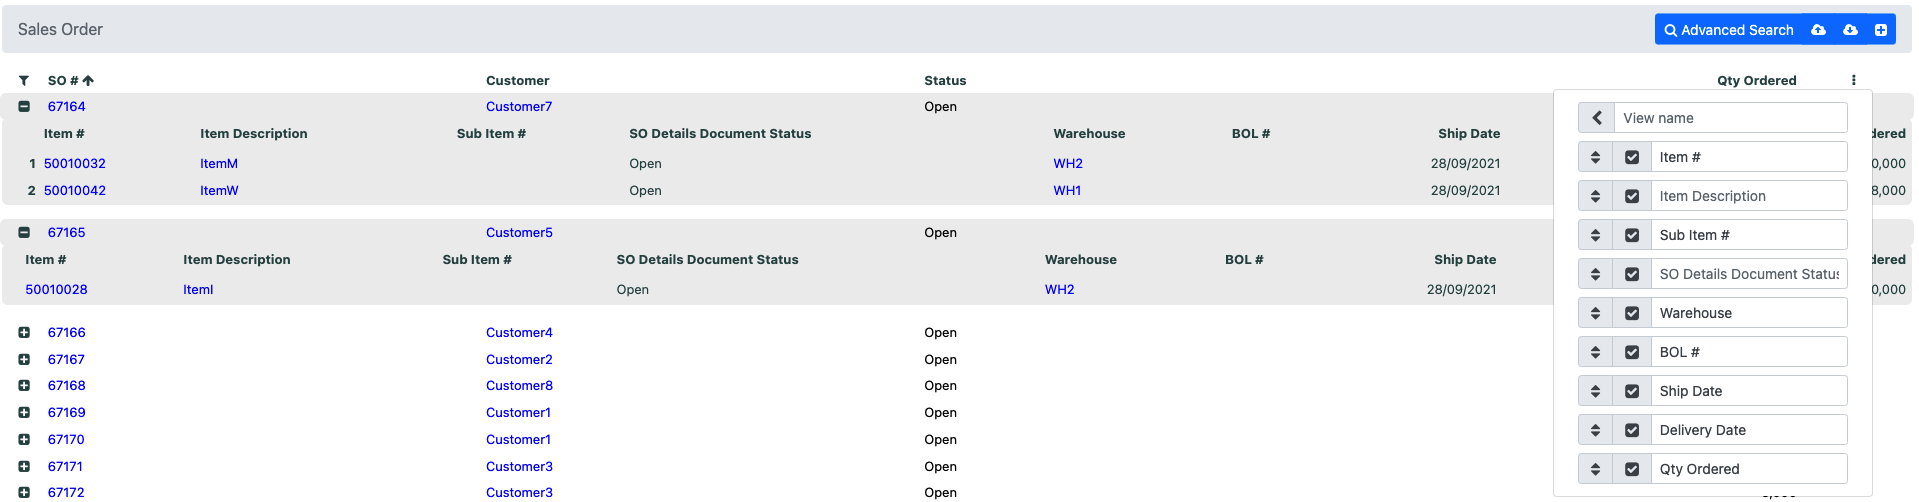
# Changing column order
From the details menu you can simply drag and drop the columns to change their order the result will be visible on the screen as soon as the drop is done
In order to manage this view see the Managing views section
# Change column name
From the details menu you can rename any column, by typing in the new name
The result will be imediatly be visible on screen as well
# Hide or show a column
From the details menu you can hide any column, by clicking on the checkbox next to it

The result will be imediatly be visible on screen as well
To add the column back simply click on the checkbox again
# Going back to the previous menu
In order to go back to the previous menu simply click on the back button

# Customize columns
For tables without headers and details in the Views Menu section there will be a single Edit button where you will see all columns. The same actions as for headers or details can be performed.
# Managing views
Open the advanced menu for the screen you want to customize
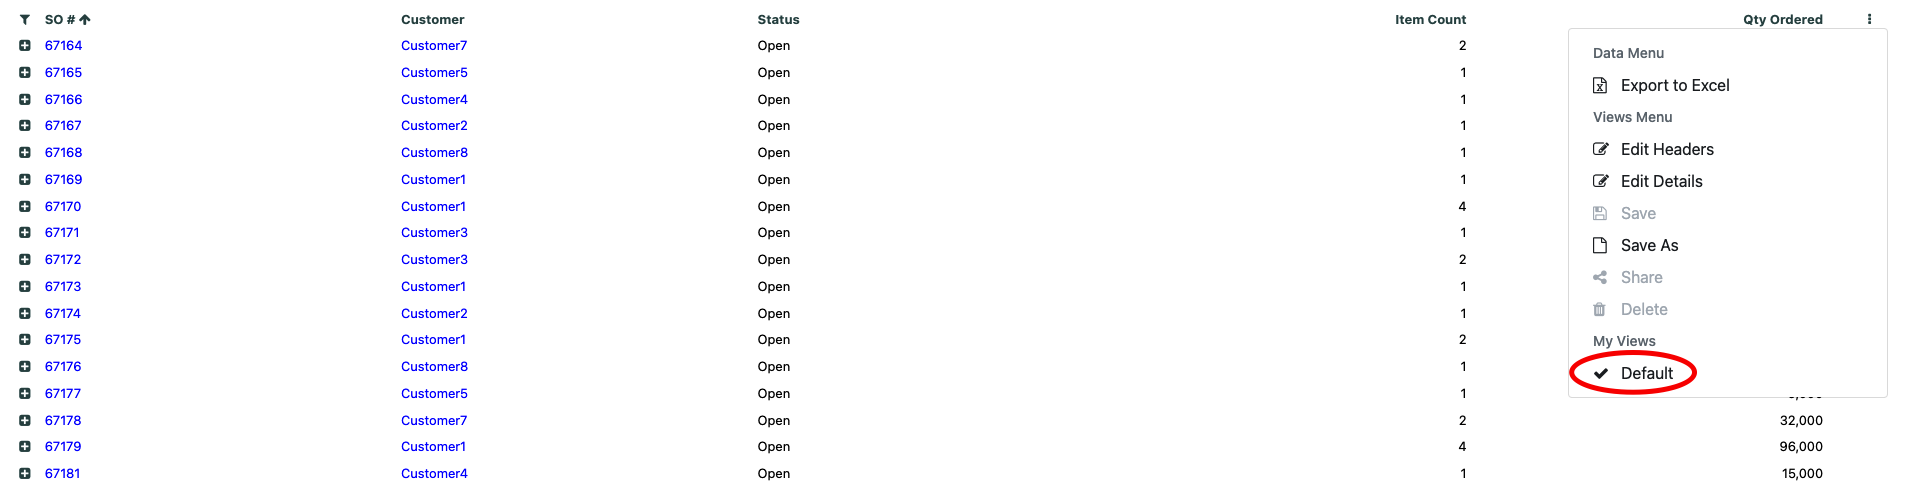
By default only one view named Default is available for any user, you can see this in My Views section
# Creating a new view
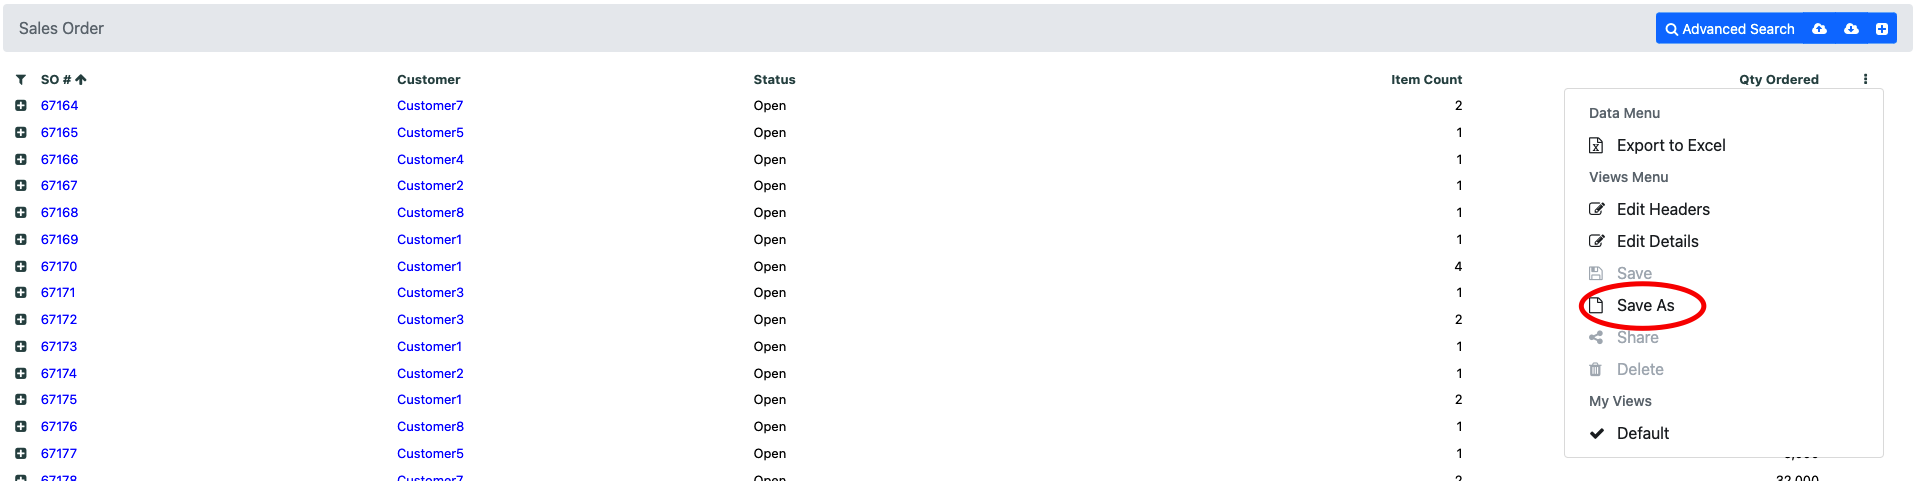
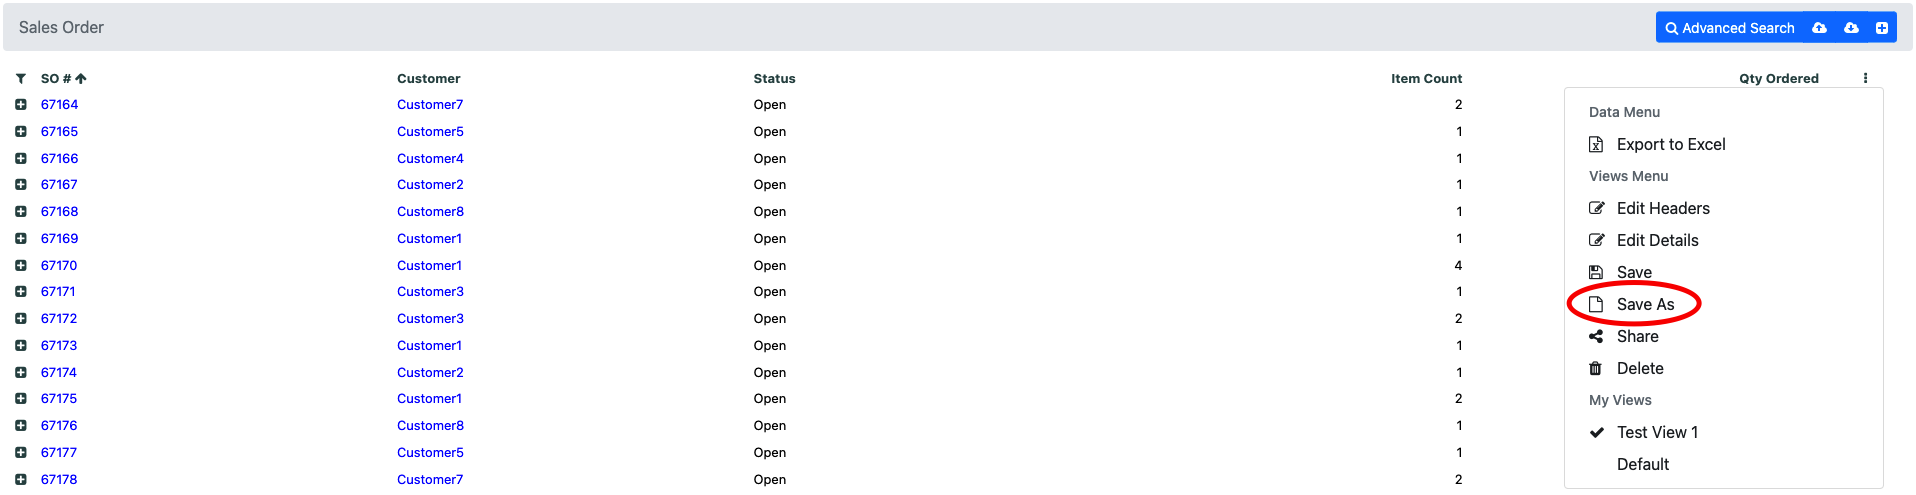
In order to create a new view click on the Save As button
This will open a pop-up where you can enter the name of the View you want to create
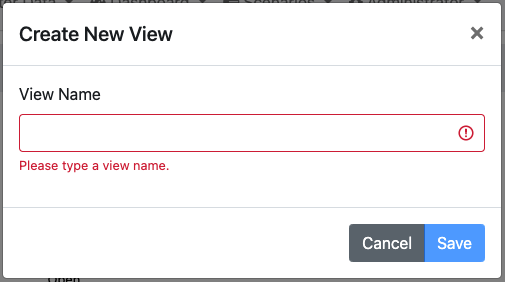
After entering the name of the view you want to create and hitting save, you can see this view in the advanced table menu

For customizing the view see the Customize a view
# Updating a view
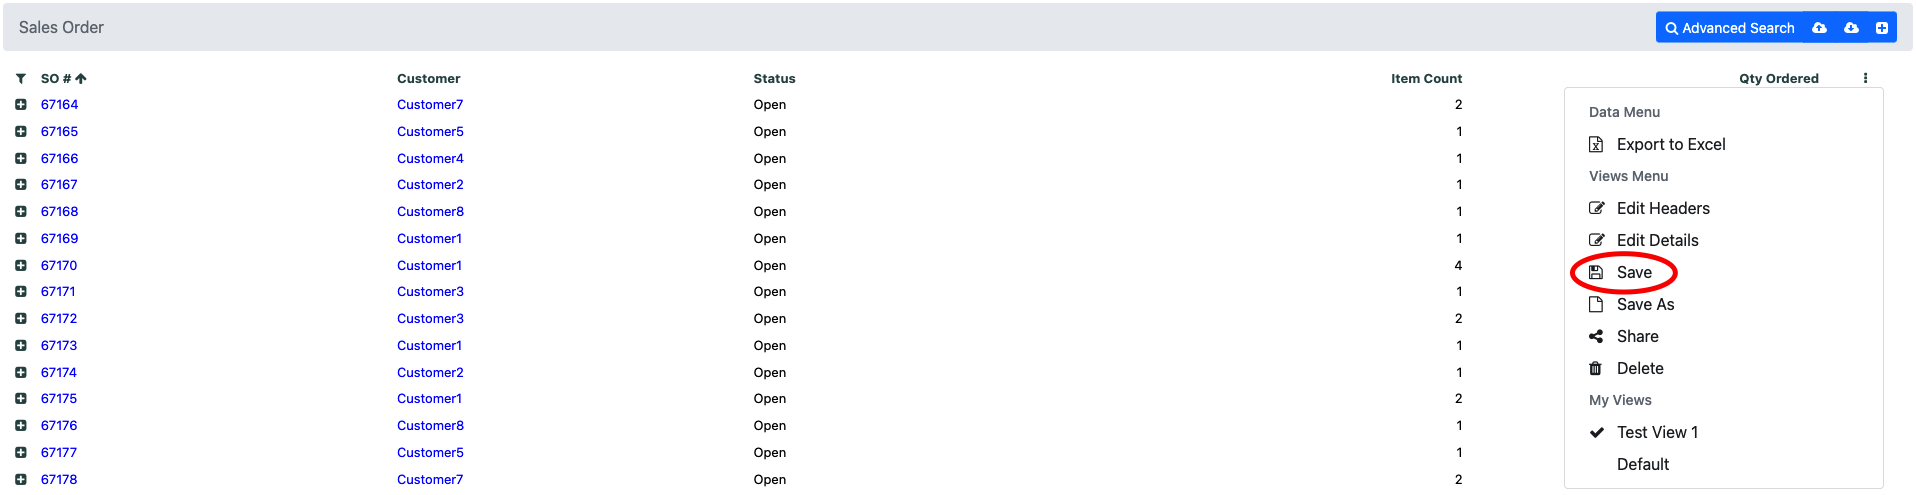
After customizing any view (except the Default one) you can Save it under the same name from the advanced menu by clicking on the Save button
# Creating a copy of an existing view
If you want to create a copy of an exiting view you need to select that view under My Views section by clicking on the view name
Then you need to click on the Save As button
This will open a pop-up where you can enter the name of the View you want to create
# Sharing a view
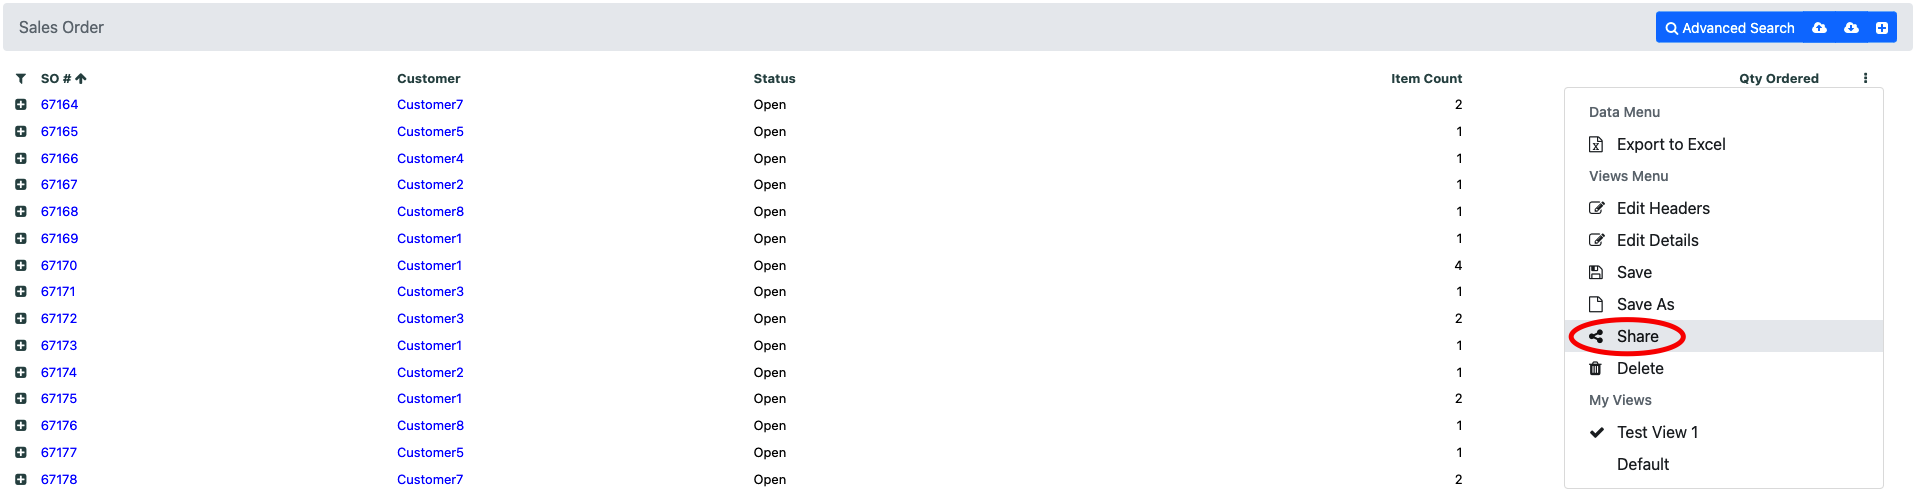
If you want to share a view with any other users open the advanced menu, then select the view you want to share and click on the Share button
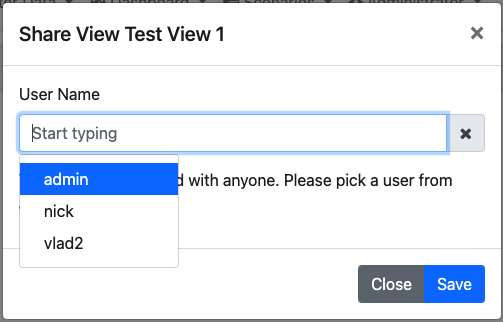
A pop-up will appear showing all the users who already have access to this view, if nobody else has access to this view this list will be empty. From the autocomplete text box you can select the users you want to share the view with
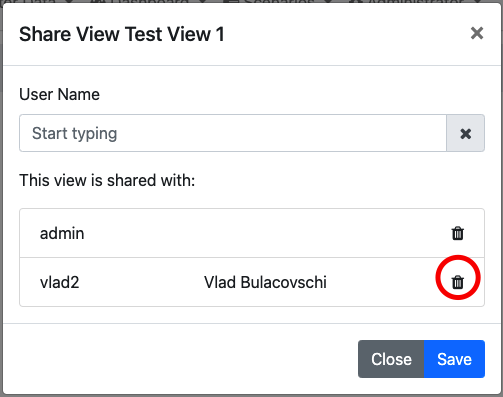
To remove a user from having access to this view simply click on the trash can icon next to that user's name
Please note that the view can only be modified by its creator, in order for a user to modify a view he or she doesn't own they will need to create a copy.
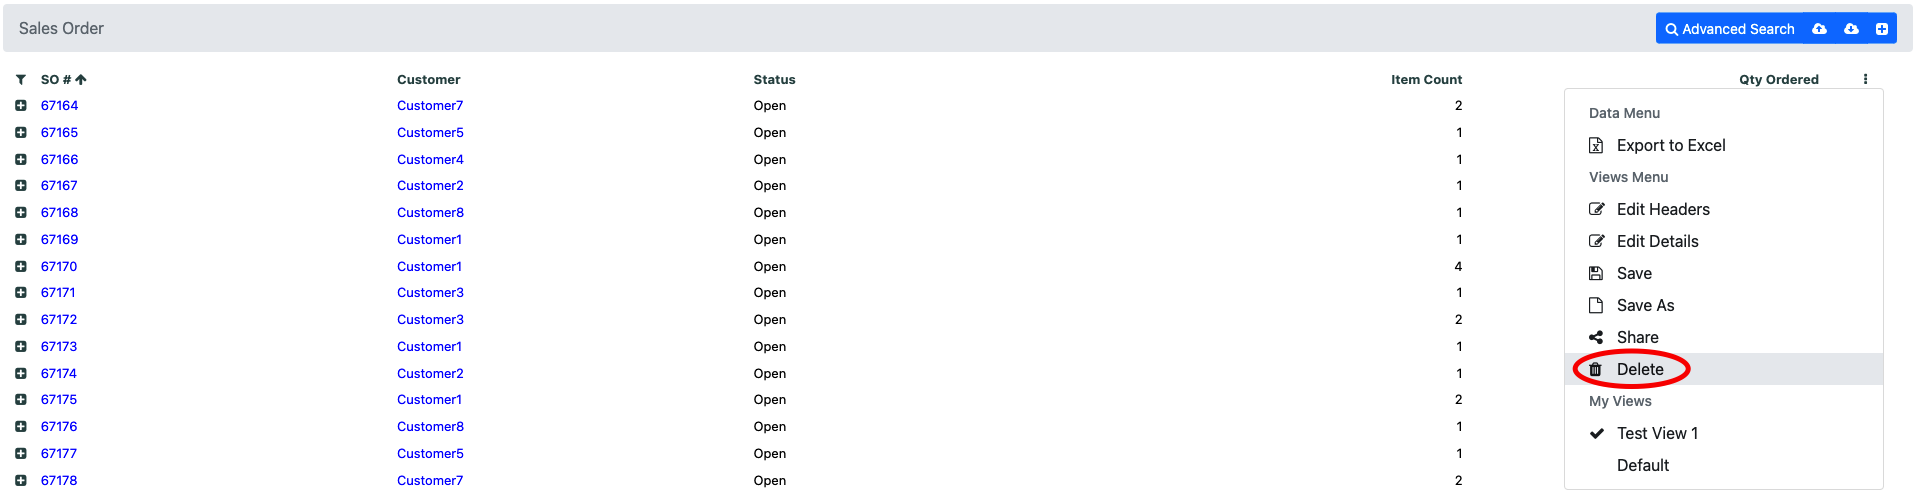
# Deleting a view
If you want to delete a view open the advanced menu, then select the view you want to delete and click on the Delete button. Please note that the Default view cannot be deleted
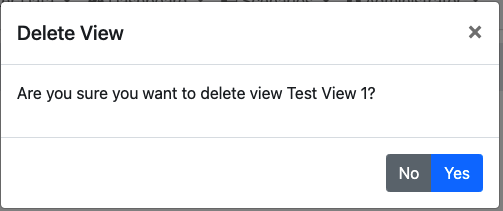
A confirmation pop-up will appear for confirming the deletion
Please note that when deleting a shared view it will disappear from all the users it was shared with
# Selecting a default view
From the advanced menu simply click on the view name you want to set as default from the My Views section
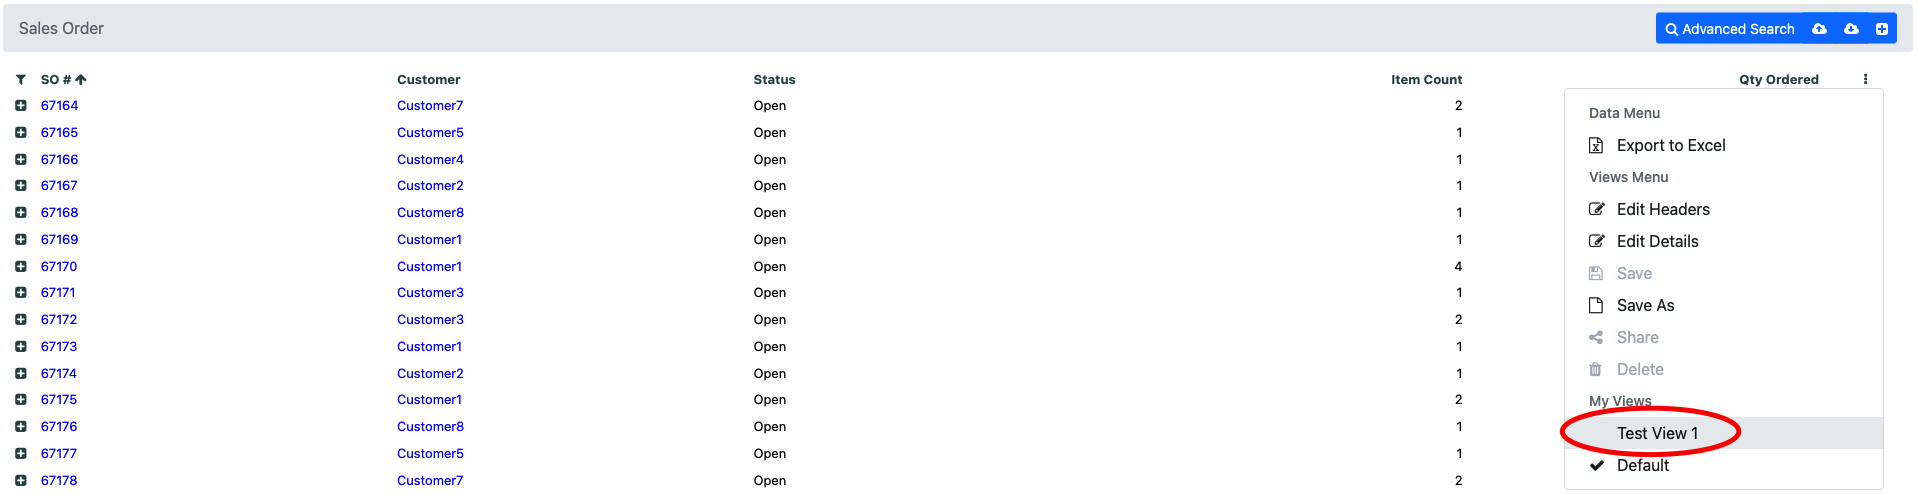
The table will be reloaded with the new view. From the advanced menu you can see which is the default view by looking for the check sign next to its name